How to Change Product Backgrounds Without Altering the Product
A controlled workflow for replacing a product background while protecting shape, label, color, material, and camera perspective.
 EzNanoBanana Editorial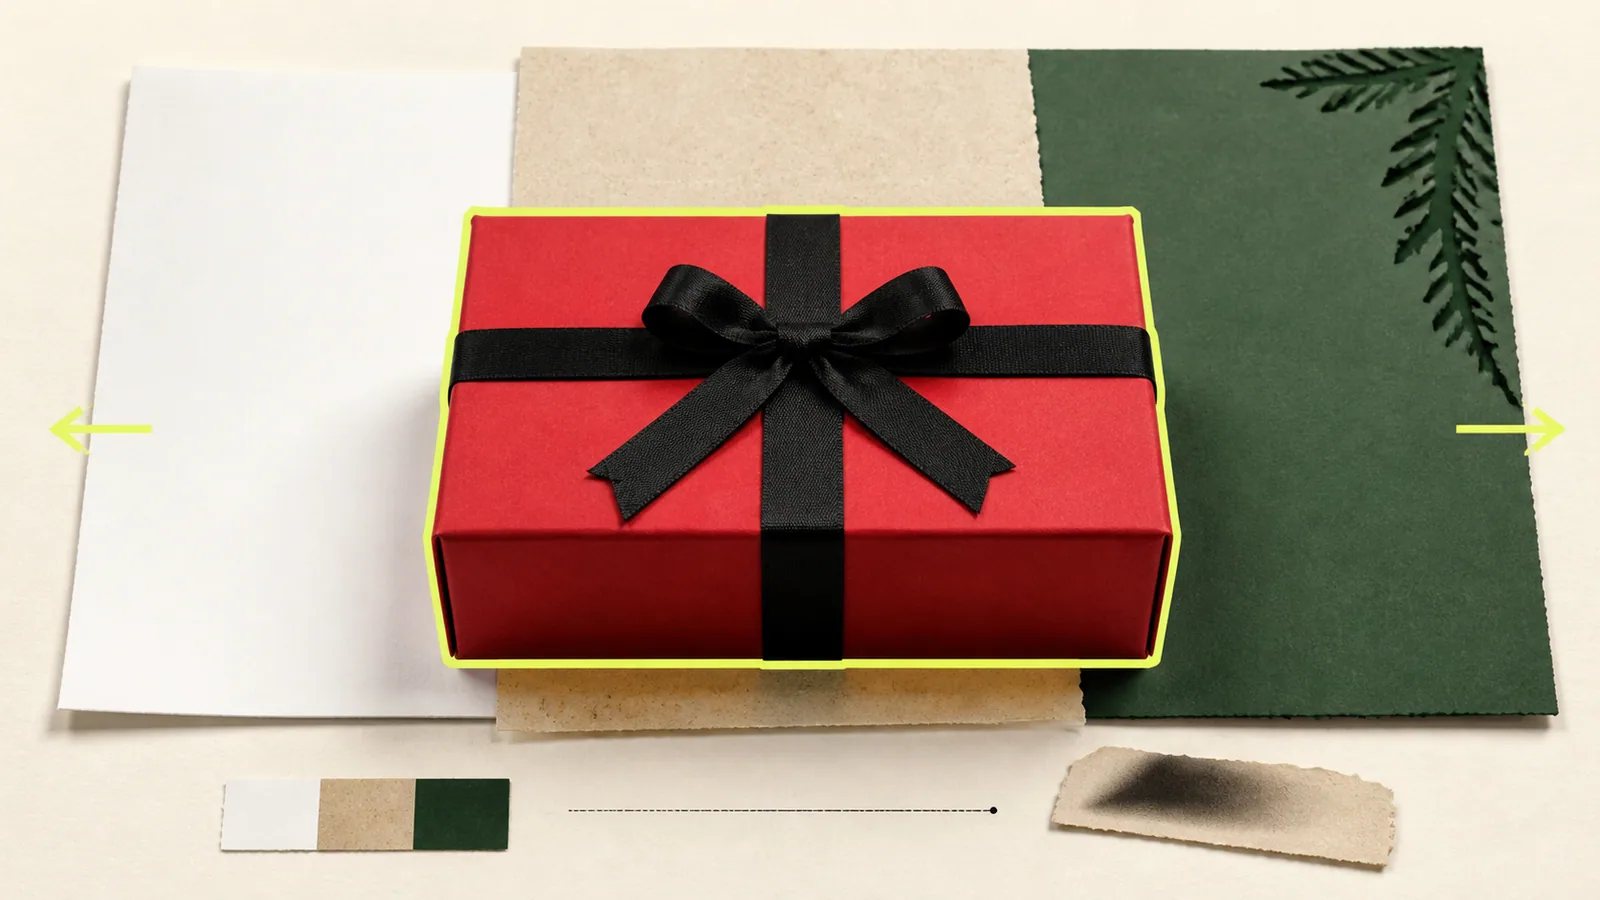
Effective AI product background prompts separate the image into a protected product and an editable environment. Lock the product's geometry, label, color, material, and perspective; replace only the background; then rebuild contact shadow, reflected color, and depth cues so the two parts belong to the same photograph.
A new backdrop is easy. A believable, truthful composite requires restraint.
Create a product lock
Before editing, list what a customer would expect to match the real item:
- outer silhouette and proportions;
- cap, closure, handle, button, or port geometry;
- label layout, logo, and exact wording;
- product color and material;
- transparent or reflective behavior;
- pattern, seams, and repeated details;
- camera angle and visible sides;
- contents or fill level.
Review these attributes after every generation. If the label, shape, or included hardware changes, you created a different product rather than a new background.
Google's subject-customization documentation includes product references and examples that place a referenced product in a new scene (Google Cloud subject customizationnofollow). Treat the reference as guidance and the source image as the truth to verify against.
Decide the job of the new background
A background can serve different purposes:
- catalog: isolate and clarify the product;
- contextual: show scale or use;
- editorial: create mood and brand distinction;
- seasonal: update campaign timing;
- copy-led: reserve space for a headline or offer;
- material story: connect the product to ingredients or construction.
Shopify's photography style guide distinguishes transparent, contextual, and themed backgrounds and recommends documenting lighting and composition as part of a consistent visual system (Shopify photography style guidenofollow).
Choose one job. A catalog image overloaded with props and theatrical light stops being a catalog image.
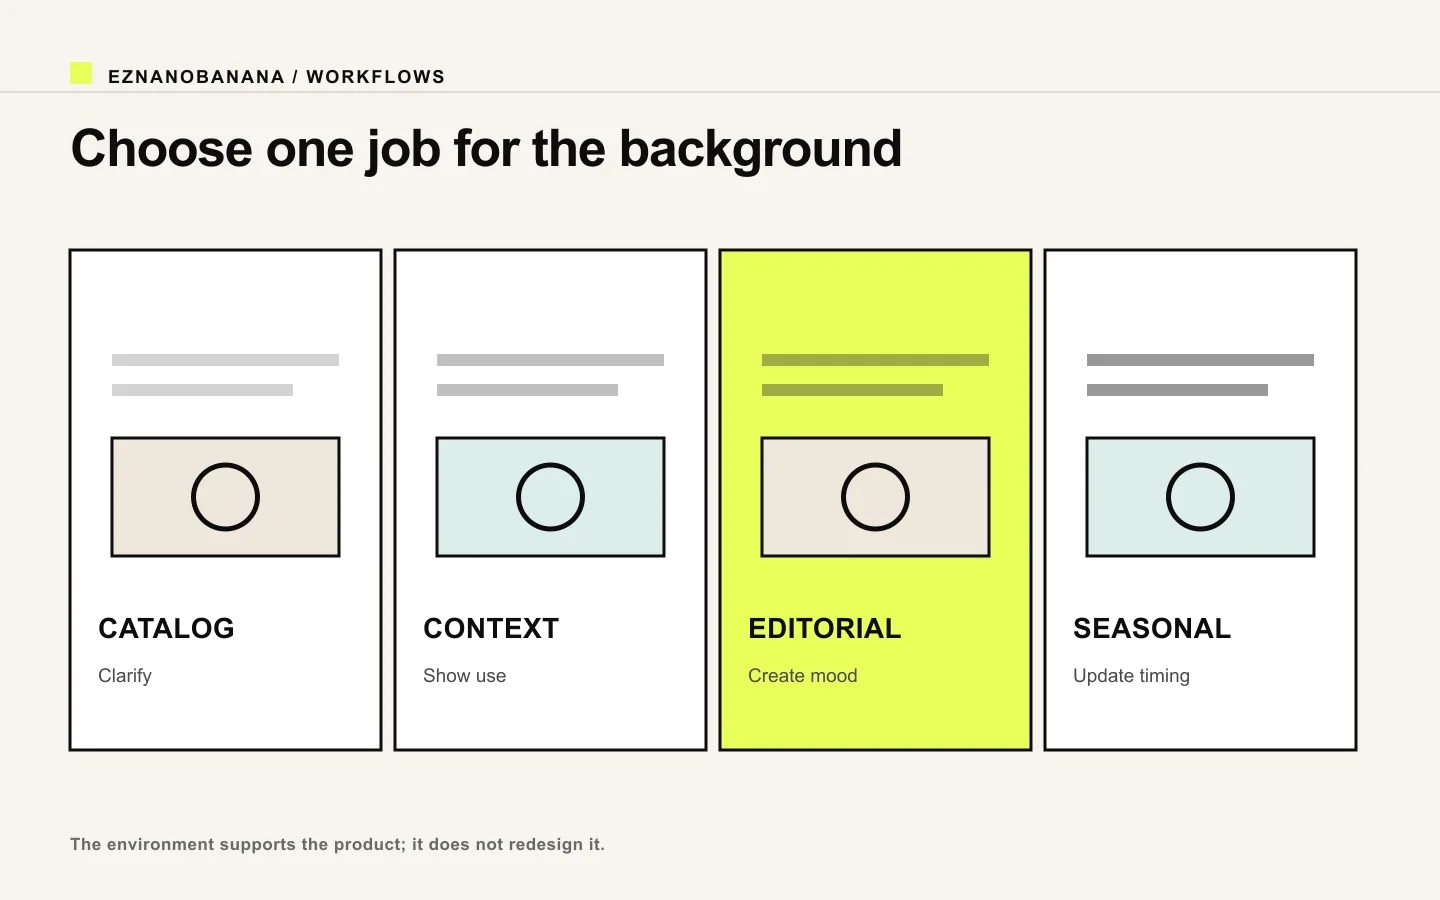 Comparison of catalog, contextual, editorial, and seasonal product backgrounds.
Protect the product with the edit region
For a background replacement, the editable region should cover the environment while protecting the product. Google's image-editing overview lists background replacement as a mask-based editing use case (Google Cloud image editing overviewnofollow).
Pay attention to boundary relationships:
- include the old cast shadow if it cannot belong to the new surface;
- preserve a clean product silhouette;
- include transparent areas that reveal the old background;
- protect labels and small hardware;
- allow enough room to rebuild reflections or contact beneath the product.
A tightly protected product with an untouched old shadow will look pasted in. A mask that cuts into the product may regenerate its edge and change geometry.
Use a background-replacement prompt formula
Replace only the background around the referenced [product]. Preserve exactly [product lock] and keep the original [camera angle/crop]. Place the product on [surface] against [environment]. Match [light direction, softness, color temperature] and create [contact shadow/reflection] consistent with the product's position. Add only [minimal props]. Keep [negative-space requirement]. The result passes if [source comparison checks].
The preservation block should come before creative atmosphere. It sets the priority.
Example 1: white catalog background
Replace only the existing kitchen background with a seamless neutral white studio sweep. Preserve the blender's exact body shape, jar geometry, controls, logo, printed markings, cable, color, reflections, crop, and camera angle. Place it firmly on the white surface with a short soft neutral contact shadow. Broad diffused light from upper left and gentle frontal fill. No props. The product must match the source character for character and edge for edge.
A white background still needs surface contact and tonal separation. Pure white everywhere can erase a pale product edge.
Example 2: warm editorial stone
Replace only the background and old tabletop with pale warm travertine and a softly graded clay wall. Preserve the perfume bottle's silhouette, glass thickness, liquid level, cap, label layout, all wording, color, and perspective. Use a large soft key from camera left, a narrow highlight on the glass edge, subtle warm reflected color from the stone, and a believable contact shadow. Leave the left third low-detail for copy. No flowers or extra bottles.
Example 3: contextual desk scene
Replace the background with a quiet home-office desk at morning. Preserve the compact speaker's exact enclosure, grille pattern, buttons, ports, logo, dimensions, color, and three-quarter camera angle. Set it on light oak with one closed notebook in the far background. Soft window light from the right, realistic shadow and gentle wood-color bounce on the lower edge. Keep the speaker dominant and fully sharp.
Context should explain use without inventing performance or included accessories.
Example 4: seasonal campaign
Replace only the environment with a restrained winter gift setting: dark green paper surface, warm charcoal background, and one small pine branch outside the product silhouette. Preserve the red box dimensions, ribbon construction, logo, typography, color, crop, and camera angle. Soft overhead light with a faint cool fill; clean contact shadow. Keep generous clear space around the box. No snow, ornaments, or additional gifts.
Shopify's ecommerce photography guide emphasizes clear product presentation, good lighting, and choosing white or contextual backgrounds according to purpose (Shopify ecommerce photographynofollow). The environment should support the product, not become the subject.
Rebuild physical integration
A realistic background replacement needs more than a matched color palette.
Contact shadow
The darkest shadow usually sits nearest the contact point and softens outward. Its direction and length must agree with the new light.
Reflected color
A pale product on a red surface may receive a faint red bounce. A metal product may reflect large shapes from the new environment. Keep the effect subtle and plausible.
Perspective and scale
Surface lines, tiles, shelves, and props must share a coherent horizon and vanishing direction. Props provide scale; incorrect scale makes the product feel miniature or enormous.
Depth of field
If the product is sharp, nearby surface texture should not be inexplicably blurred while a distant prop is sharp. Match the original lens feel or change the full scene coherently.
Transparency
Glass, holes, mesh, and translucent plastic reveal the background through the product. Those interior regions need replacement too, without erasing the product's own color and reflections.
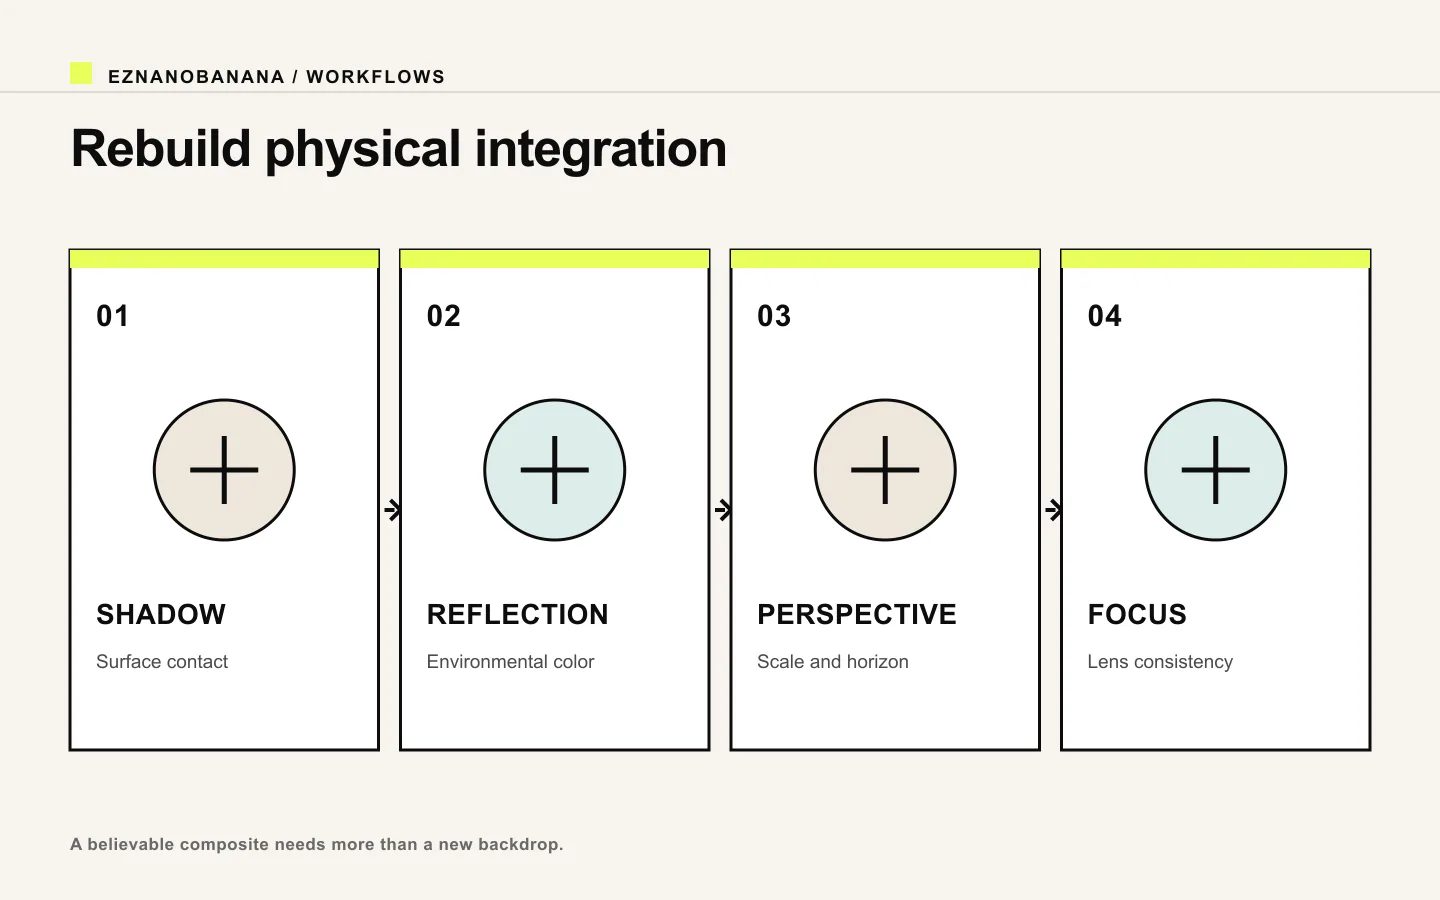 Four-step product integration check for shadow, reflection, perspective, and focus.
Compare product and environment separately
Review in two passes.
Product truth
- silhouette and proportions;
- label, logo, and exact text;
- color and material;
- caps, seams, controls, ports, and included parts;
- transparent edges and reflections.
Environmental integration
- surface contact;
- shadow direction and softness;
- perspective and scale;
- reflected color;
- depth of field;
- crop and negative space;
- prop relevance.
Overlaying the source and result at reduced opacity can reveal small geometry drift. A side-by-side zoom is better for text and material.
Know when to stop generating
If the product has accuracy-critical packaging, use the original product pixels and generate only the environment where possible. If repeated edits keep changing the label or shape, composite the approved product cutout over a generated background and finish shadow and color manually.
The goal is not to prove that one model can recreate every pixel. The goal is a usable image that remains truthful.
Start with the original product photo in the EzNanoBanana image-to-image workflow. Make one low-risk background change, compare the product against the source before judging the mood, and expand into a campaign only after the product lock survives.
Link policy demo
Standard links remain follow links. Editorial references marked “nofollow” render with a dotted underline and a small policy label, and include rel="nofollow" in the HTML.
Make the next frame