How to Keep AI Characters Consistent Across Images
A practical workflow for preserving a character’s identity while changing pose, setting, lighting, and framing.
 EzNanoBanana Editorial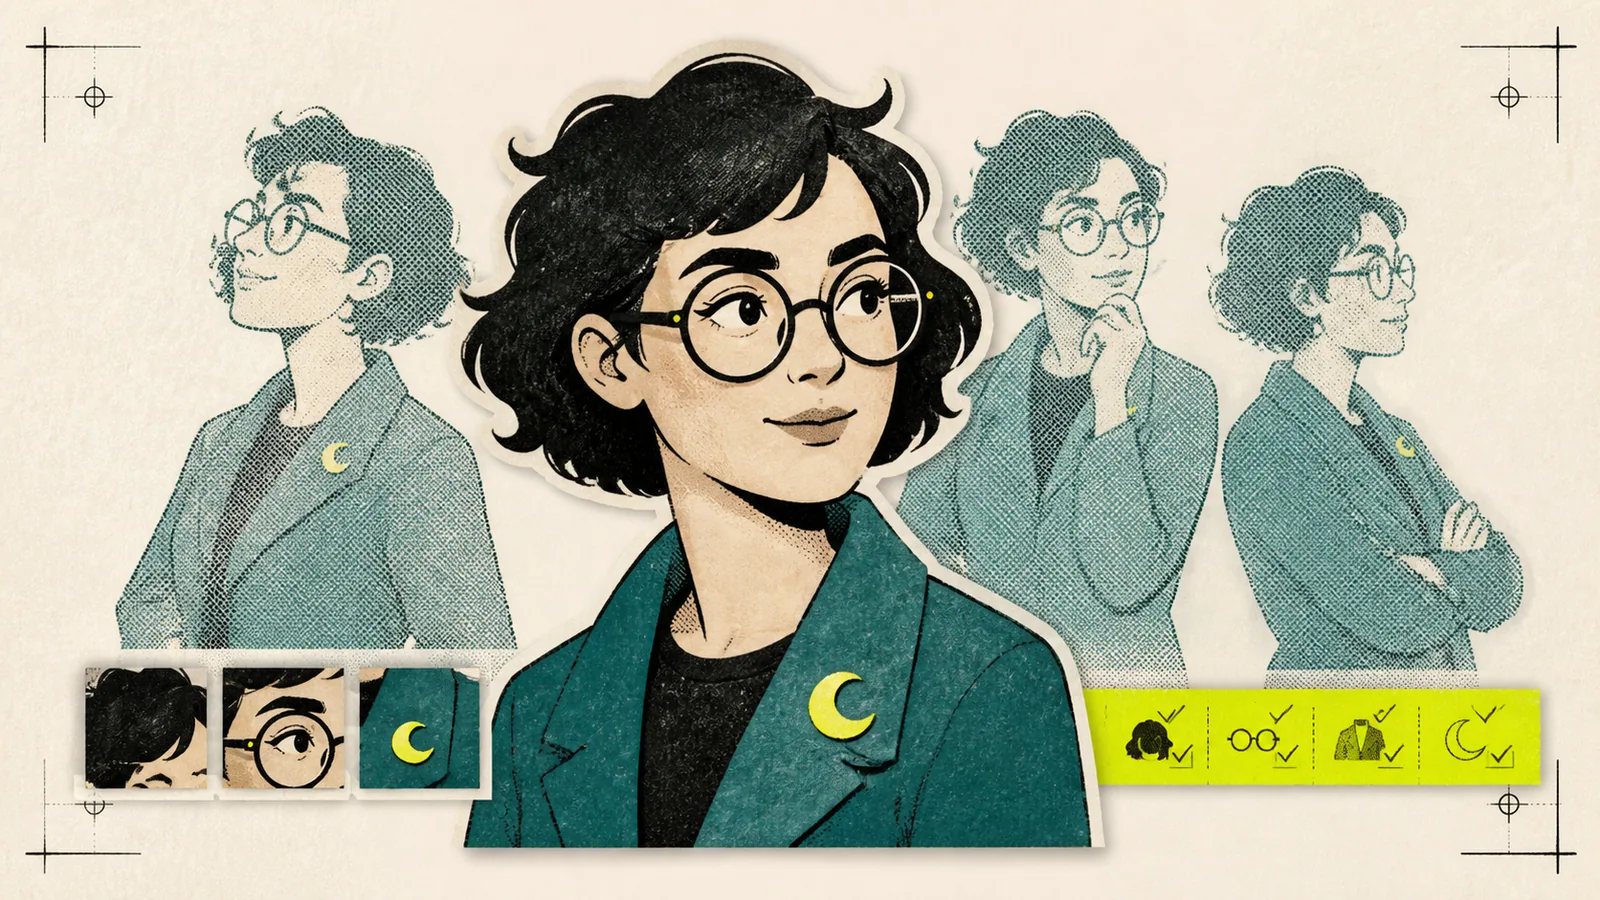
A consistent AI character is not created by repeating the same name in every prompt. You need a stable visual reference, a short list of identity traits that never change, and a workflow that changes one scene variable at a time. The model supplies variation; your process supplies continuity.
This guide shows how to build that process without pretending every generation will be perfect.
Start with an identity anchor
Choose one image that represents the character at their most recognizable. It should make the face, silhouette, hair, clothing cues, and color palette easy to read. A neutral pose and even lighting usually make a better anchor than a dramatic action shot because fewer details are hidden.
Runway's reference-image guidance similarly recommends a clear subject, even natural lighting, and a neutral expression as a flexible starting point. It also suggests reusing successful generations as new references when a scene becomes more complex (Runway reference-image guidenofollow).
A useful anchor is not necessarily the prettiest image. It is the image with the least ambiguity.
Build a small reference set if your workflow supports it:
- a front or three-quarter portrait for facial identity;
- a full-body view for proportions and silhouette;
- one clean view of a signature garment or accessory;
- an optional side view if the character appears from multiple angles.
Google's subject-customization documentation also treats a reference image as a guide rather than a guarantee. For person references, it recommends centered, frontal, unobstructed faces for its workflow (Google Cloud subject customizationnofollow).
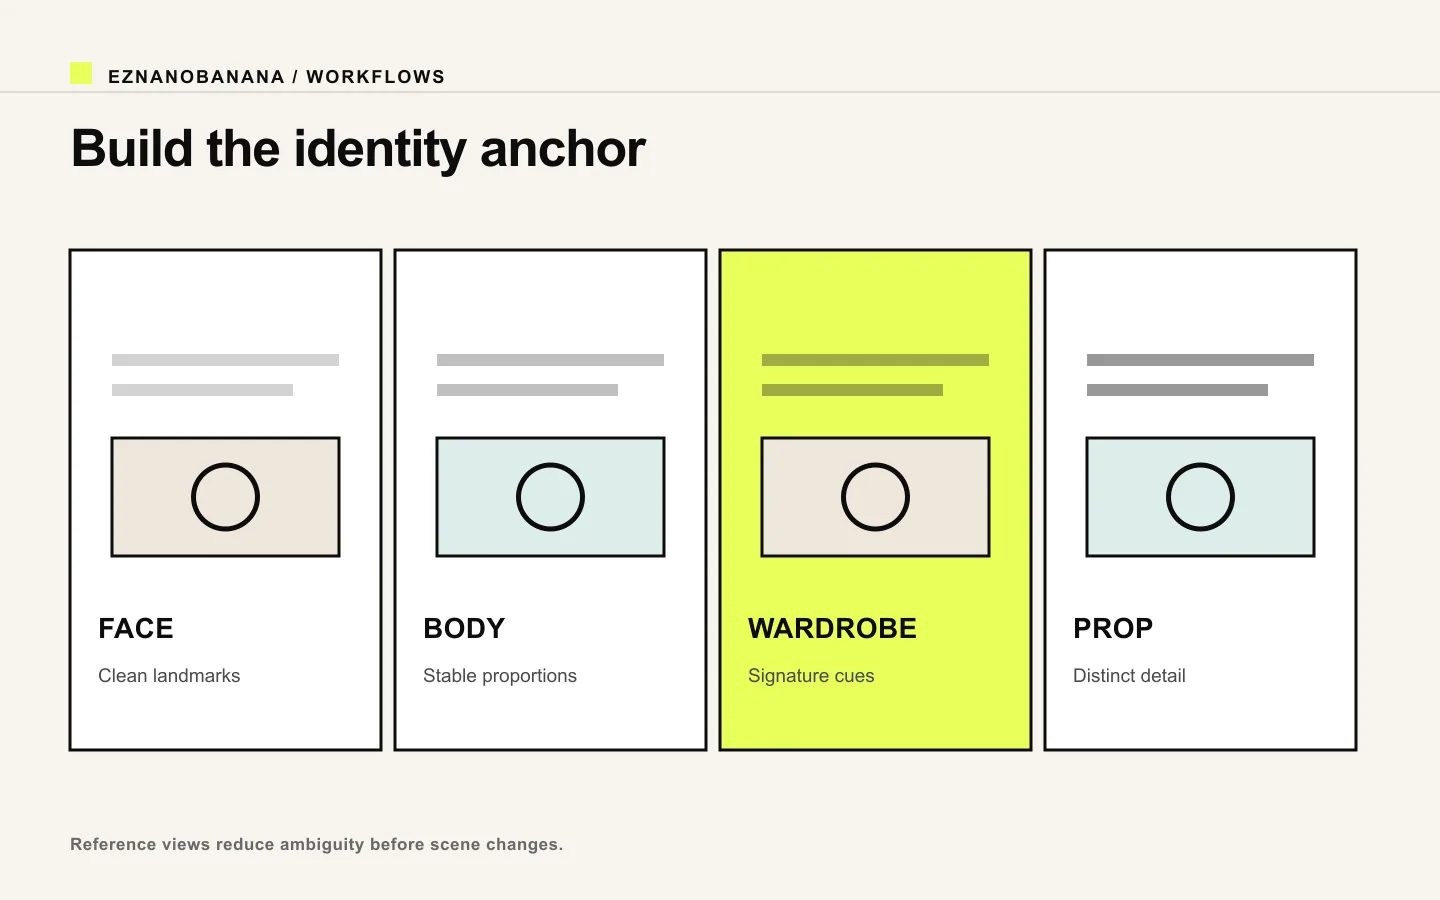 Reference sheet comparing face, body, wardrobe, and prop anchors for a consistent AI character.
Separate invariants from variables
Before writing scene prompts, create a two-column character specification.
Invariants are details that define who the character is:
- face shape and key facial proportions;
- skin tone, eye color, and hair shape;
- age range and body proportions;
- signature clothing, colors, or accessories;
- illustration or photographic treatment.
Variables are allowed to change:
- pose and expression;
- location and time of day;
- camera angle and shot size;
- activity and props;
- weather, atmosphere, and secondary wardrobe.
This separation prevents a common failure: asking for a new pose, outfit, lighting setup, art style, camera angle, and location in one generation, then wondering which change caused the identity to drift.
A short invariant block is more useful than a paragraph of flattering adjectives. “Short black bob with a blunt fringe, round amber glasses, teal field jacket, small crescent pin” gives the model and the reviewer observable cues. “Beautiful, iconic, highly detailed protagonist” does not.
Use a prompt that protects identity
A practical character prompt has four parts:
- Reference and identity: identify the character and restate only the most important visual anchors.
- New action or setting: describe what changes in this image.
- Composition and light: specify shot size, angle, and lighting.
- Continuity instruction: explicitly preserve the protected traits.
For example:
Use the referenced character as the identity anchor. Preserve her short black bob, blunt fringe, round amber glasses, teal field jacket, crescent pin, facial proportions, and age. Show her kneeling beside a small field radio in a rain-soaked forest at blue hour. Medium three-quarter shot, eye-level camera, soft cool ambient light with one warm radio glow. Change the pose and environment only; keep the character design and photographic treatment consistent.
Notice what the prompt does not do. It does not redescribe every pixel of the reference, and it does not introduce five competing styles.
You can apply this method in an image-to-image AI workflow, where the source image carries visual information that text alone would have to reconstruct.
Change one major variable at a time
When identity matters, iteration should be diagnostic.
Start with a low-risk change such as the background while keeping the pose and framing close to the anchor. Next, change the shot size. Then change the pose. Introduce a new outfit or strong stylization only after the character survives simpler transformations.
A sensible sequence is:
- same character, new background;
- same character, new camera angle;
- same character, new pose;
- same character, new expression;
- same character, controlled wardrobe variation;
- same character, substantially different lighting or style.
Save the best result after each step. That result can become the reference for the next step, reducing the distance between the reference and the requested scene.
This is slower than asking for the final cinematic scene immediately, but it is usually faster than trying to repair a character whose face, clothing, and proportions all drifted at once.
Build a continuity checklist
Do not review character consistency only by asking whether two images “feel similar.” Compare observable traits at a useful zoom level.
Check:
- face outline, eye spacing, nose, mouth, and apparent age;
- hairline, part, length, volume, and silhouette;
- body proportions and height relative to nearby objects;
- recurring wardrobe colors, closures, seams, and accessories;
- left-right placement of asymmetric details;
- overall rendering style, contrast, grain, and color treatment.
For a series, place the anchor and new images in a contact sheet. Side-by-side comparison exposes gradual drift that is difficult to notice when each image is reviewed alone.
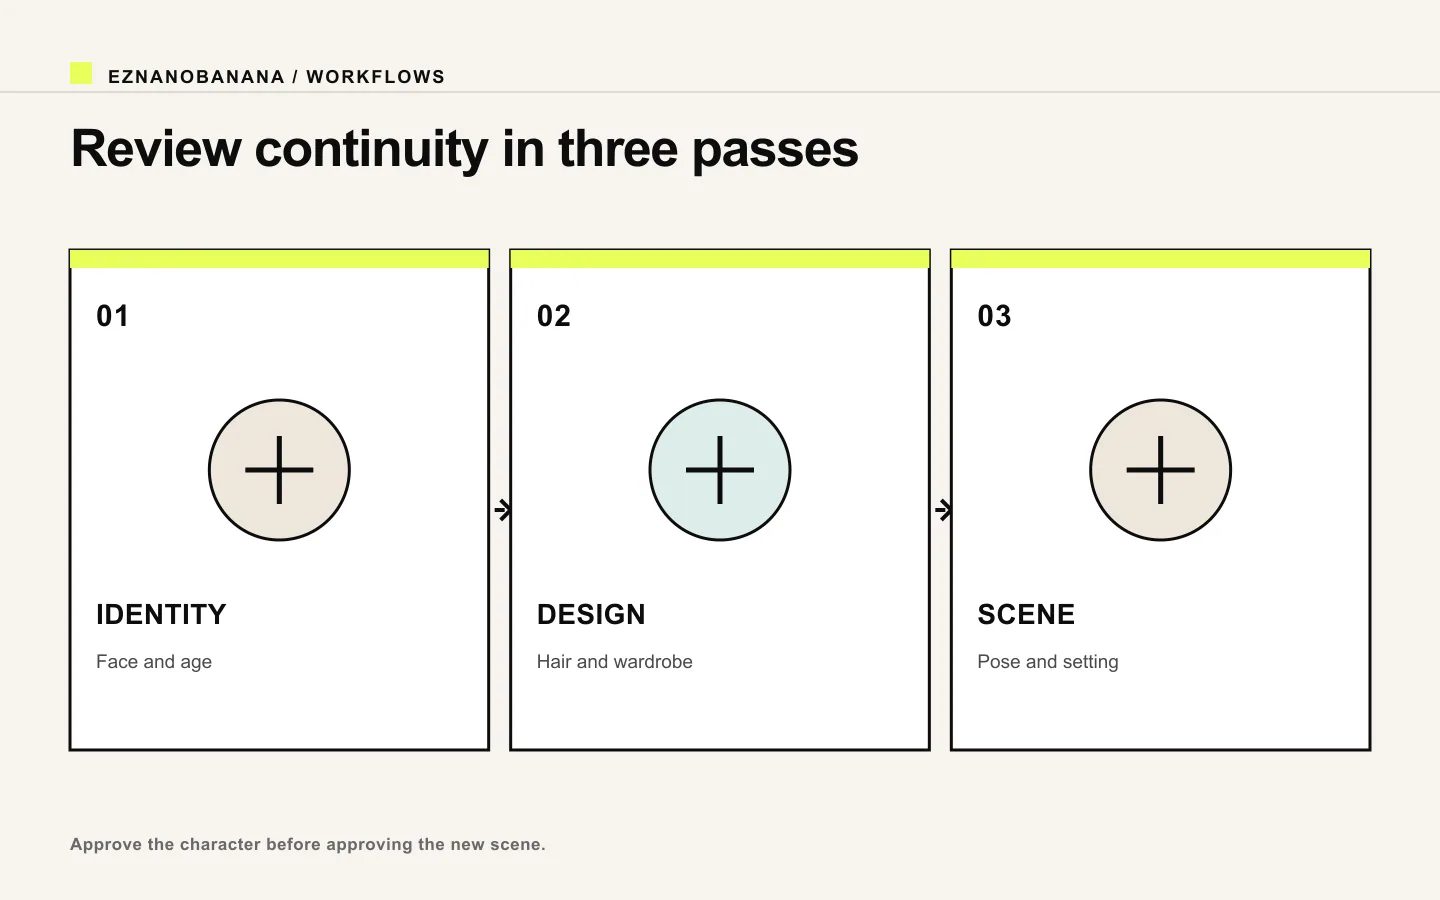 Three-step character continuity review covering identity, design, and scene.
Score the result in three groups:
- identity: could a viewer recognize the same person or character?
- design: are the signature visual elements intact?
- scene: did the requested pose, composition, and environment actually change?
Reject an image that wins on scene but loses on identity. It is cheaper to regenerate early than to build more scenes on top of a weak reference.
Fix the most common consistency failures
The face changes with every angle
Use a clearer portrait reference, reduce the angle change, and move in smaller steps. If available, add a second reference that reveals the missing side of the face. Avoid hiding key landmarks behind hair, hands, glasses glare, or extreme shadow in the anchor.
Clothing details mutate
Protect only the details that matter. Name the garment type, dominant color, closure, and signature accessory. If every stitch must match, treat the clothing as a separate product-like reference and review it independently.
The character ages or changes proportions
State a narrow age range and stable body proportions. Keep shot type and lens feel consistent during early tests. Very wide angles and extreme close-ups can change perceived proportions even when the underlying design is close.
The style stays consistent but the person does not
Style references and subject references solve different problems. A watercolor treatment can remain stable while facial identity drifts. Put subject identity before style in both your reference selection and review criteria.
Two characters blend together
Introduce characters separately, use distinct visual anchors, and keep their clothing palettes and silhouettes easy to distinguish. Establish a reliable image for each character before composing a shared scene.
Create a reusable character production kit
Once a character passes review, keep a compact kit:
- approved anchor images;
- invariant description;
- allowed wardrobe and expression variants;
- prompt template;
- continuity checklist;
- rejected examples with notes about why they failed.
The rejected examples matter. They tell future collaborators what “too different” means for this character.
The core idea is simple: reference images carry identity, prompts direct change, and review protects continuity. If you are starting from an approved character image, use EzNanoBanana's image-to-image workflow to test one controlled scene change, compare it with the anchor, and keep only the result that passes your identity checklist.
Link policy demo
Standard links remain follow links. Editorial references marked “nofollow” render with a dotted underline and a small policy label, and include rel="nofollow" in the HTML.
Make the next frame