Image-to-Image Prompting: A Practical Formula for Controlled Edits
Learn how to separate what must stay from what should change, then write image-editing prompts that are easier to test.
 EzNanoBanana Editorial
This image to image prompt guide begins with three questions: what must remain, what may change, and what should the edited result look like? Most weak prompts describe only the desired result. Controlled prompts also define the preservation boundary and an observable acceptance test.
The formula in this guide is deliberately model-agnostic. Treat it as a production brief, not magic syntax.
The six-part image-to-image prompt formula
Use these blocks in order:
- Edit goal: one sentence naming the primary change.
- Preserve: the specific content and relationships that must remain.
- Change: the subject, region, or attribute that may change.
- Integrate: lighting, perspective, scale, shadows, reflections, and edge behavior.
- Finish: the intended photographic or illustrative treatment.
- Validate: a short statement of what success looks like.
Here is the compact template:
Edit [target] by [single primary change]. Preserve [protected attributes]. Replace or modify [editable content] with [new description]. Match [light, perspective, scale, material interaction, and edges]. Finish as [visual treatment]. The edit is successful if [observable acceptance criteria].
Runway's image-prompting guide recommends clear natural language and describes controllable elements such as subject, scene, composition, lighting, color, and style (Runway image prompting guidenofollow). The formula above adds preservation and validation because editing has a source image to protect.
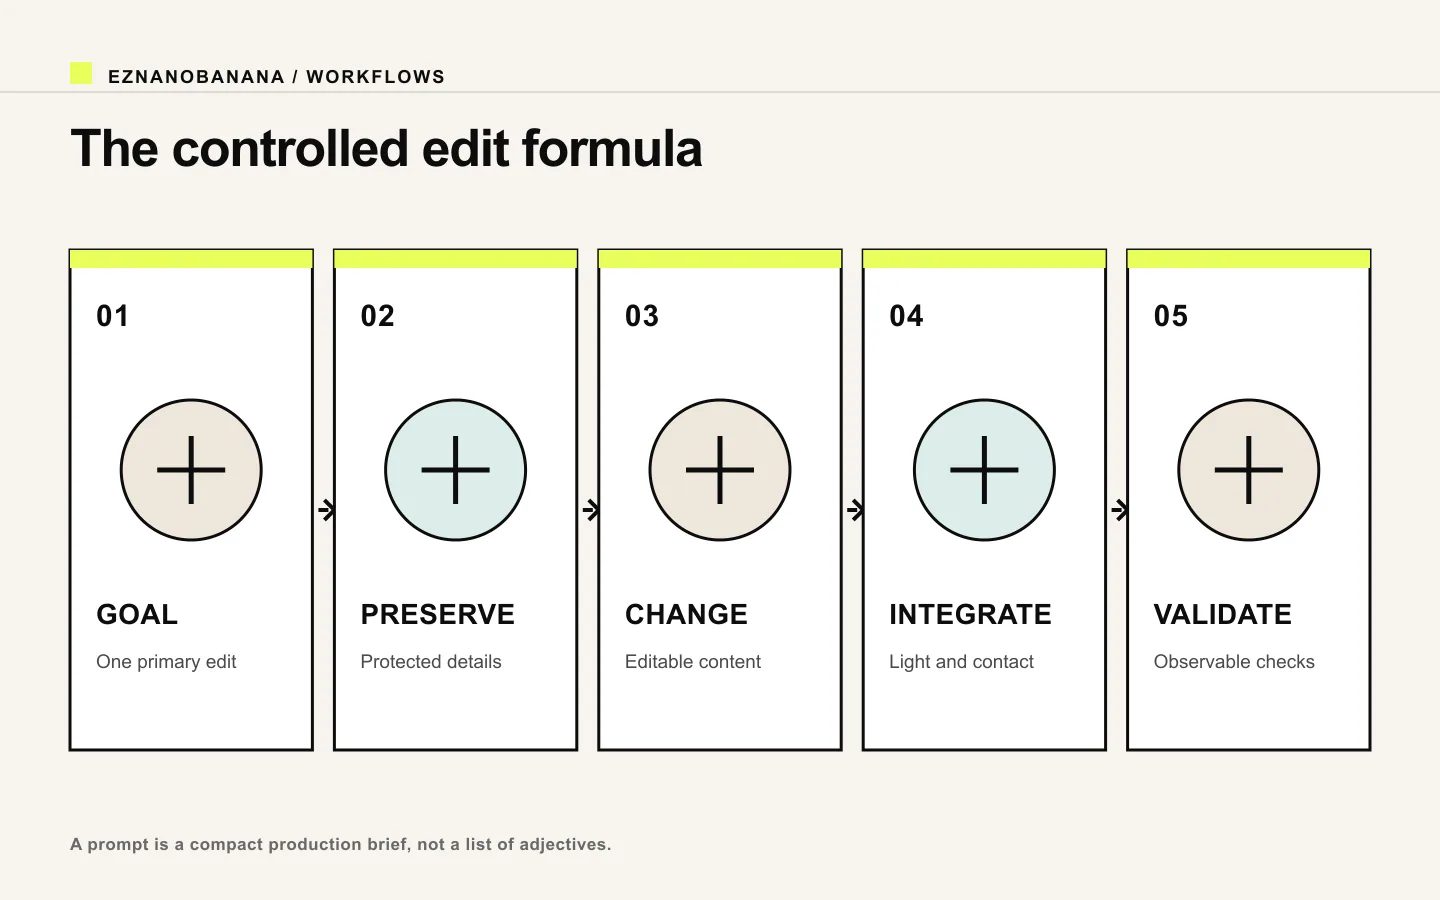 Five-part controlled image-edit prompt formula: goal, preserve, change, integrate, and validate.
Write the preservation block first
“Keep everything else the same” sounds precise, but it leaves the important details unnamed. Replace it with observable constraints.
For a portrait:
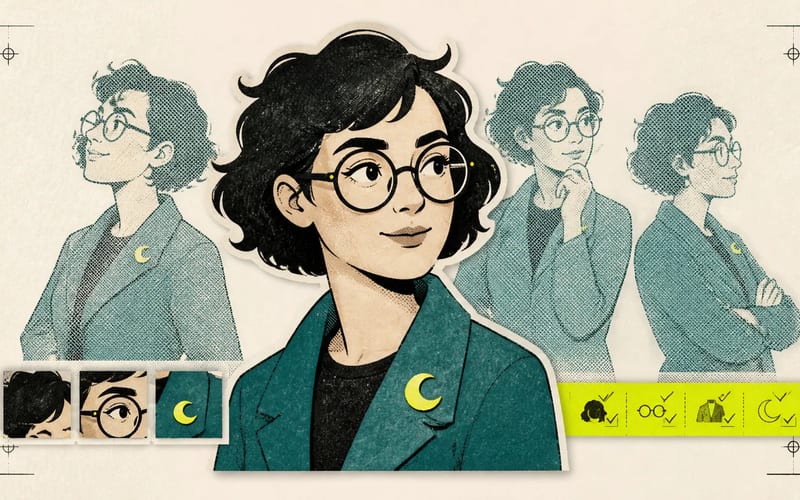
Preserve facial identity, apparent age, skin tone, hairline, hairstyle, expression, head angle, glasses, and the original crop.
For a product:
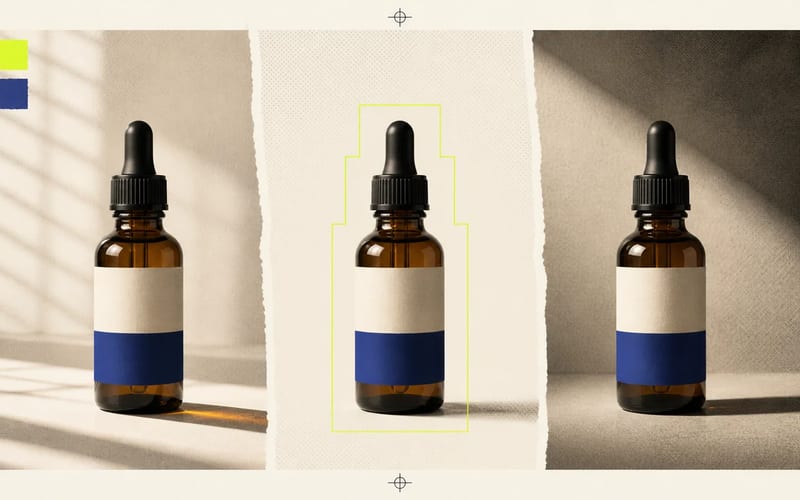
Preserve bottle geometry, cap shape, label layout and spelling, logo placement, liquid color, material transparency, and camera perspective.
For an interior:
Preserve room dimensions, window placement, flooring, fixed cabinetry, camera position, and daylight direction.
Do not protect every detail automatically. If the goal is to turn noon into night, protecting the exact light would contradict the edit. The preservation block should define the boundary, not freeze the entire image.
Name one primary change
A prompt can contain supporting details, but it should have one dominant edit. “Change the jacket from red to navy” is diagnosable. “Change the jacket, background, pose, haircut, camera angle, season, and style” is a new generation wearing an editing label.
When you need several changes, sequence them:
- make the structural edit;
- verify preserved identity or geometry;
- make the lighting or color edit;
- add small finishing details.
This creates checkpoints. If the product label changes after step two, you know which operation caused it.
Describe integration, not just replacement
An inserted object must belong to the original scene. That requires relationships.
Specify:
- light direction: “lit from the large window at camera left”;
- shadow: “soft contact shadow directly beneath the object”;
- scale: “occupies roughly one third of the tabletop width”;
- perspective: “aligned to the table's existing vanishing lines”;
- reflection: “subtle reflection in the polished stone surface”;
- edge behavior: “natural depth-of-field softness matching the background.”
These instructions are more useful than stacking quality words such as “8K, masterpiece, ultra-detailed.” They describe how the edit connects to evidence already present in the image.
Use masks when the editable area matters
A mask tells an editing system where change is permitted. Google's image-editing documentation describes mask-based editing as a way to define the region where an insertion, removal, extension, or background replacement is applied (Google Cloud image editing overviewnofollow).
A mask and a prompt do different jobs:
- the mask defines where;
- the prompt defines what;
- the source image defines context.
For local work, mask slightly beyond the object only when the system needs room to rebuild surrounding texture, shadow, or reflection. A mask that cuts tightly through a soft shadow may leave a visible outline. A mask that covers half the image may invite unnecessary changes.
OpenAI's image help documentation likewise describes natural-language image edits, with or without a selected region depending on the workflow (OpenAI Images helpnofollow).
Five prompt examples
Replace a background
Replace the plain gray background with a pale limestone studio wall and floor. Preserve the ceramic lamp's exact silhouette, glaze color, cord, switch, camera angle, crop, and label. Match the original soft light from upper left; add a restrained contact shadow and faint warm bounce from the stone. Editorial product photograph. The lamp must remain visually identical to the source.
Change one material
Change only the chair upholstery from blue velvet to undyed oatmeal linen. Preserve the wooden frame, dimensions, seams, buttons, camera position, room, and lighting. Make the linen weave visible at close range and keep existing folds and shadows aligned with the cushion shape. The final image should look like the same photograph with a different fabric sample.
Remove a distracting object
Remove the orange cable on the floor. Reconstruct the floorboards, grain direction, baseboard edge, and soft wall shadow behind it. Preserve all furniture and the original color grade. No new objects. The repaired area should be indistinguishable at 100% view.
Add a prop
Add one closed paperback notebook to the empty right side of the desk. Preserve the laptop, mug, hands, desk layout, and crop. The notebook lies parallel to the desk edge, receives the same cool window light, and casts a short soft shadow. Keep the scene natural and uncluttered.
Restyle without changing composition
Render the source as a restrained two-color editorial screen print. Preserve every subject position, silhouette, gesture, crop, and negative-space relationship. Use charcoal and warm coral ink on off-white paper with subtle registration texture. Do not add or remove objects.
Match prompt detail to edit risk
Low-risk edits, such as shifting a wall color, may need a short prompt. High-risk edits, such as preserving branded packaging text while changing the environment, need a stronger preservation block and closer review.
Use a simple risk test:
- Could this edit change identity?
- Could it change product truth?
- Could it create misleading text or geometry?
- Would an unnoticed error affect a customer decision?
The more “yes” answers, the more you should constrain, isolate, and review the edit.
Diagnose failures by prompt block
If the result is wrong, do not rewrite the entire prompt immediately.
- Protected content changed: shorten the edit distance and strengthen the preserve block.
- The requested change is missing: make the edit goal more direct and remove competing instructions.
- The new object floats: add scale, contact, shadow, and perspective relationships.
- The style overwhelms the source: reduce style language and restate composition invariants.
- The masked edge is visible: adjust the mask boundary and describe reconstructed texture or edge blending.
- Different attempts vary wildly: change one variable per run and reuse the best intermediate result.
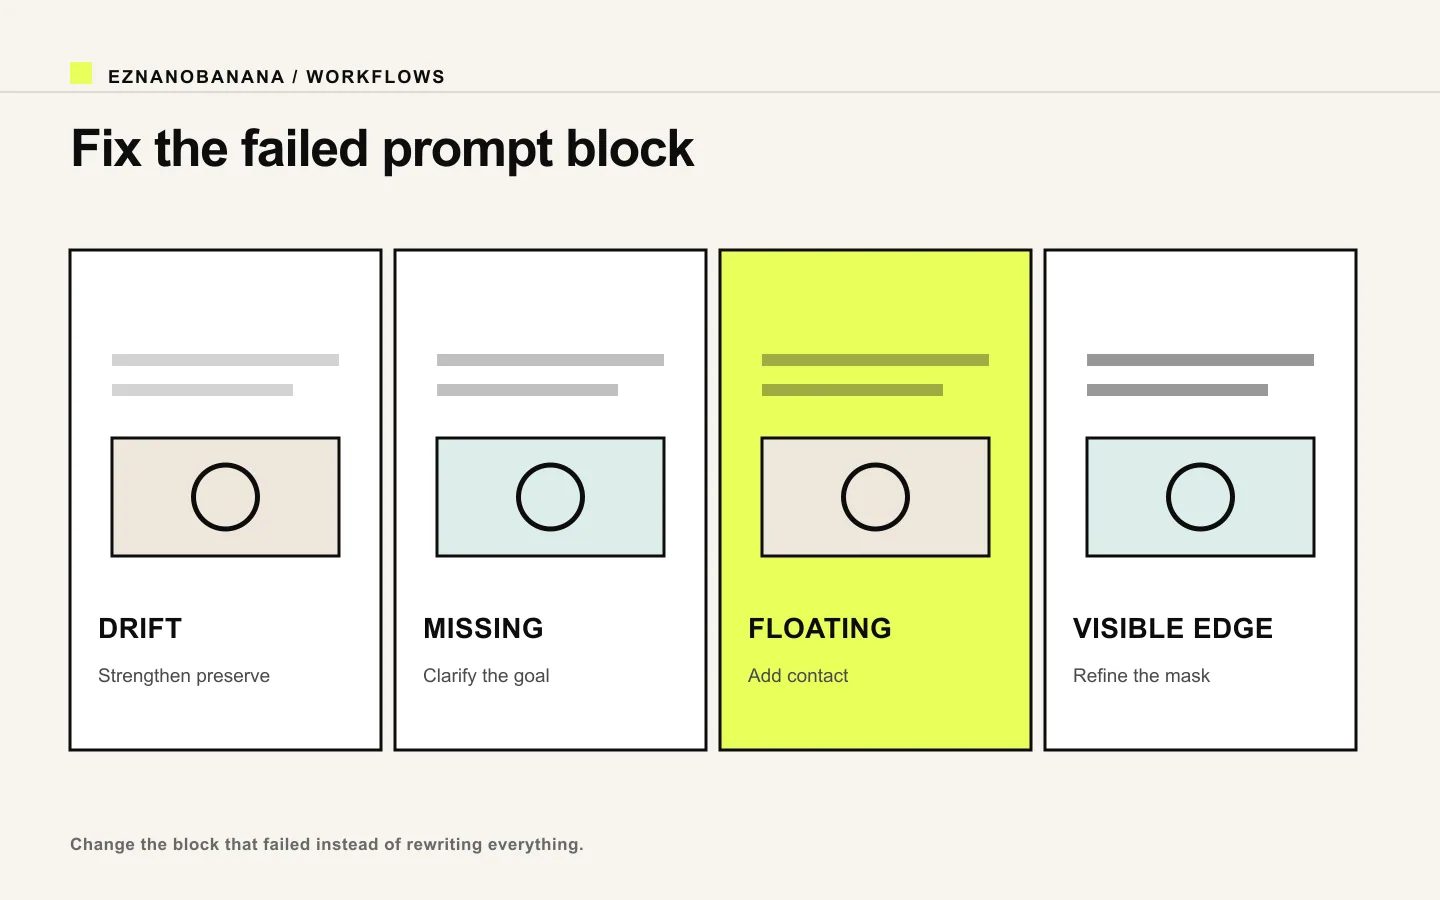 Diagnosis grid for prompt drift, missing edits, floating objects, and visible mask edges.
Use an acceptance test, not a vibe
Before generating, write three to five checks. For a product-background edit they might be:
- label text matches the source;
- product width and height are unchanged;
- cap and reflections keep the same geometry;
- contact shadow matches the new surface;
- no source-background color fringe remains.
Review at both fit-to-screen and 100% zoom. The first reveals composition; the second reveals text, edges, and texture.
A strong prompt is not the longest prompt. It is the smallest complete brief for the edit. Start with an existing image in the EzNanoBanana image-to-image workflow, define the protected details before the desired change, and iterate from the first failed check rather than from a blank prompt.
Link policy demo
Standard links remain follow links. Editorial references marked “nofollow” render with a dotted underline and a small policy label, and include rel="nofollow" in the HTML.
Make the next frame