How to Remove Backgrounds Around Hair, Fur, and Transparent Edges
Use a coarse-to-fine masking workflow to preserve strands, soft boundaries, partial transparency, and natural edge color.
 EzNanoBanana Editorial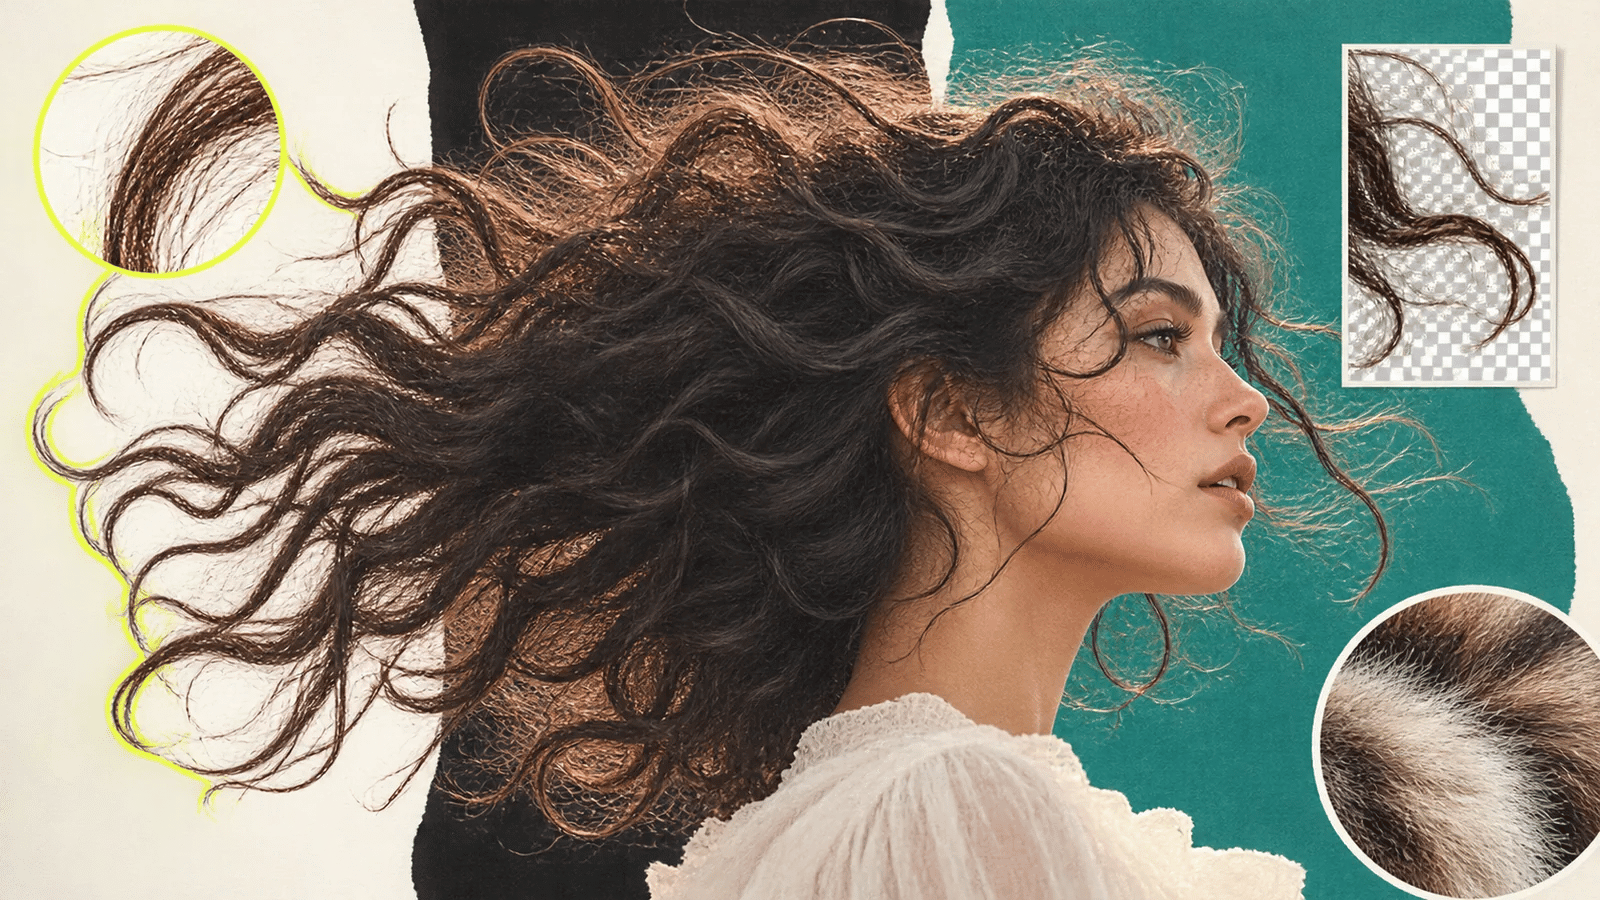
To remove background from hair, fur, smoke, glass, or motion-softened fabric, you need more than a simple inside-or-outside selection. These edges contain partial transparency, reflected background color, and detail thinner than a pixel. The reliable workflow is coarse subject isolation, edge-zone refinement, color-fringe cleanup, and inspection on multiple backgrounds.
A perfect-looking cutout on white can still fail on black.
Understand why fine edges are difficult
A strand of hair may cover only part of a pixel. The pixel therefore contains both hair color and background color. A hard binary cut either deletes the strand or keeps a contaminated background pixel.
Fine edges can also include:
- overlapping strands;
- motion blur;
- shallow depth of field;
- translucent fur tips;
- flyaways against similar colors;
- light wrapping around the subject;
- colored spill from the original background.
The goal is not to preserve every noisy pixel. It is to preserve a believable edge at the final display size.
Adobe's current Refine Hair documentation uses edge detection and separate refinement controls to improve fine hair boundaries (Adobe Refine Hair guidenofollow). That reflects a broader truth: automatic subject selection is the start, not always the finish.
 Layered diagram of a solid subject, mixed edge zone, and transparent background.
Use a coarse-to-fine workflow
1. Start with the largest reliable subject
Create an initial subject mask that captures the head, body, clothing, and major hair mass. Do not spend the first pass chasing every flyaway.
Review the silhouette. Missing a large curl or ear matters more than preserving a faint isolated strand.
2. Define the edge zone
Limit fine refinement to the boundary where foreground and background mix. Keep solid interior areas fully opaque and obvious background areas transparent.
Adobe's selection guidance describes dedicated edge views and notes that an object-aware mode is suited to hair, fur, and complex backgrounds (Adobe selection and mask guidenofollow).
3. Refine representative detail
Work around visible locks, whiskers, fur tufts, translucent cloth, or glass edges. Preserve strands that contribute to silhouette and texture. Remove isolated fragments that are actually background noise.
4. Clean edge color
A cutout from a green, blue, or warm wall may carry that color into semi-transparent edges. Against a new background it becomes a halo.
Reduce contamination locally. Do not globally desaturate the subject or paint every edge the same color. Natural hair still contains color variation and light.
5. Inspect on several backgrounds
Test at minimum:
- white;
- black;
- a saturated color not present in the original;
- the actual target background;
- a checkerboard or transparency view.
Different backgrounds reveal different errors. White exposes dark fringes; black exposes pale matte; saturated colors reveal holes and color contamination.
6. Judge at delivery size
Zoomed-in masking can encourage you to preserve noise that disappears—or becomes crunchy—at actual size. Check the final card, portrait, or product placement as well as the 100% view.
Do not over-feather the edge
Feathering creates a transition zone. It can soften a harsh cut, but broad feathering turns individual strands into fog and introduces a visible halo.
Adobe distinguishes anti-aliasing, which smooths jagged pixel transitions, from feathering, which creates a wider soft boundary and can reduce sharp edge detail (Adobe edge refinement guidenofollow).
Use edge treatment according to the material:
- hard product edge: tight, anti-aliased boundary;
- sharp hair in focus: narrow detailed transition;
- out-of-focus hair: naturally softer transition;
- fur: textured clusters, not uniform fuzz;
- glass: partial transparency plus specular edge;
- smoke: broad graded transparency.
Hair and fur need different decisions
Hair often forms directional strands and clumps. Preserve the dominant flow, part, curls, and silhouette before tiny flyaways.
Fur creates shorter clustered edges. A single smooth contour makes fur look cut from paper. Preserve irregular tufts at a scale consistent with the animal and image resolution.
For both, avoid treating every background-shaped gap as a hole. Some dark spaces are shadows within the subject; some light spaces are true gaps between strands. Context matters.
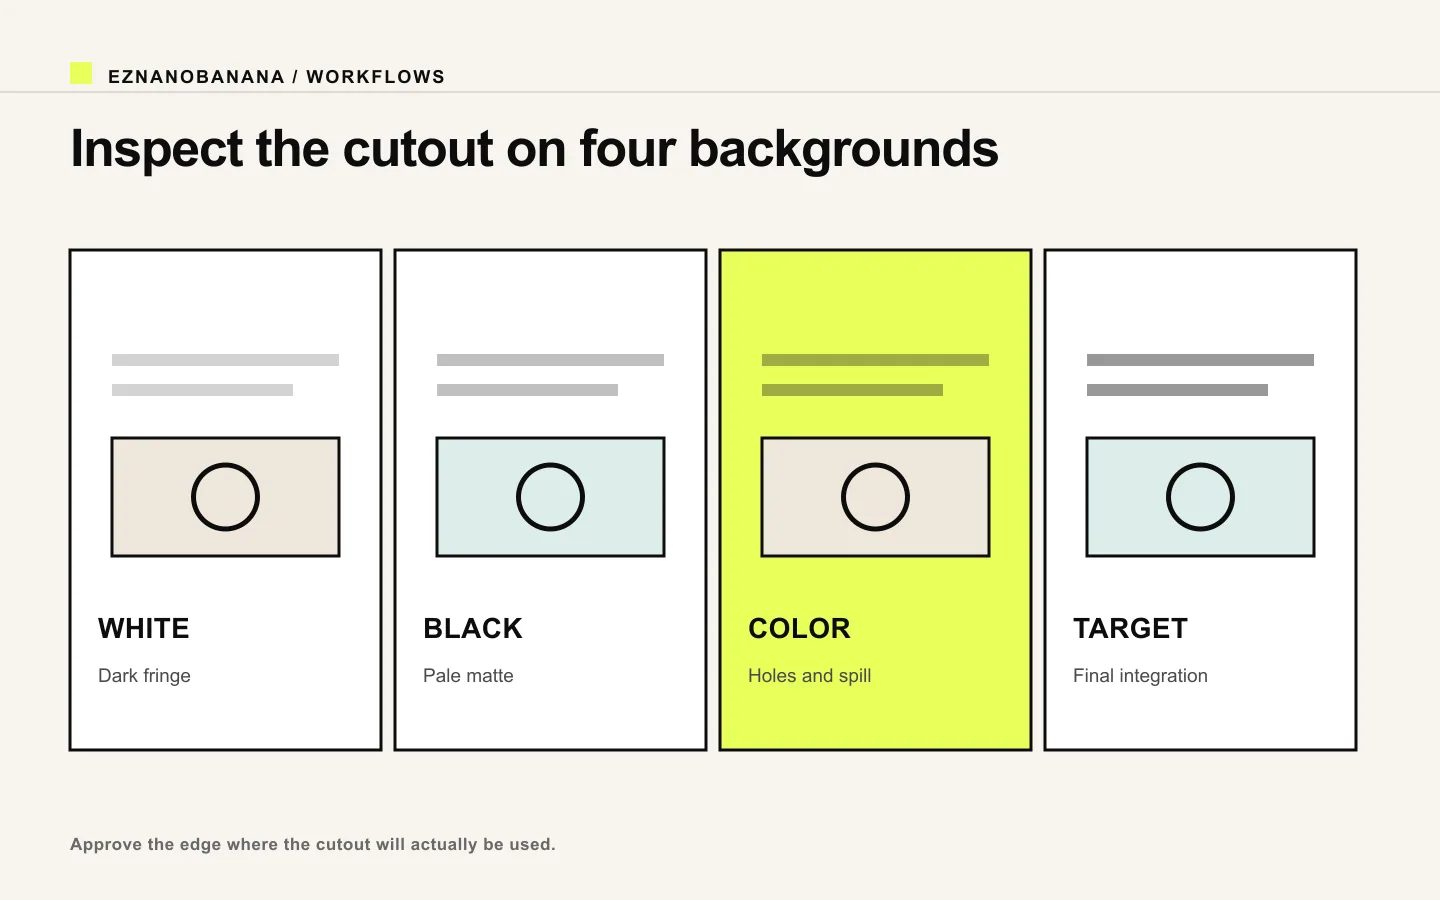 Four-background cutout review on white, black, saturated color, and the final target.
Handle difficult source backgrounds
Similar subject and background colors
Automatic selection has little contrast to follow. Use structural cues, a better-lit source, or manual additions and subtractions. Do not increase global contrast so aggressively that you damage the subject.
Busy backgrounds
Start from the strongest interior subject area and expand toward the edge. Work locally. A selection method that reads object structure may outperform one based only on color.
Backlight and rim light
Decide whether the bright fringe belongs to the subject or the old environment. Preserve physically plausible rim light, but remove a matte color that only made sense on the original background.
Motion blur
Keep the graded blur if motion is intentional. A sharp replacement edge contradicts the source. The target background should show through the semi-transparent motion trail.
Low-resolution input
Do not manufacture hundreds of crisp strands from a tiny image and expect realism. Work at the final output scale, preserve the main silhouette, and consider using a better source.
Fix the most common artifacts
White or colored halo
The edge contains the old background. Reduce edge contamination, shift the mask inward only where needed, and retest on the target color.
Chopped-off hair
The initial mask was too conservative. Add back the major hair mass, then refine only the visible boundary.
Transparent face or clothing
Edge refinement leaked into solid interior areas. Restore full opacity away from the boundary.
Crunchy outline
Too much contrast, sharpening, or mask compression created a sawtooth edge. Return to a smoother source mask and inspect at final size.
Floating subject
The cutout may be correct, but the composite lacks contact shadow, reflected color, depth-of-field match, or consistent light. Background removal and scene integration are separate jobs.
Export and delivery checks
For transparency, use a format and pipeline that preserve alpha. Verify that the CMS, transformation URL, and final component do not flatten the image onto an unexpected color.
Check:
- alpha remains intact;
- edge pixels do not darken after compression;
- transformations do not introduce a matte;
- crop does not remove fine silhouette details;
- thumbnail rendering does not create an apparent hard edge;
- the target background still matches light and focus.
Use the EzNanoBanana background remover for the first subject isolation, then review the difficult boundary instead of trusting the preview alone. Preserve the dominant silhouette, refine only the mixed edge zone, and approve the cutout on the background where it will actually be used.
Link policy demo
Standard links remain follow links. Editorial references marked “nofollow” render with a dotted underline and a small policy label, and include rel="nofollow" in the HTML.
Make the next frame