What Is AI Inpainting? How Masks and Prompts Control Local Edits
Understand how masks define the editable area, how prompts define the replacement, and why edge quality matters.
 EzNanoBanana Editorial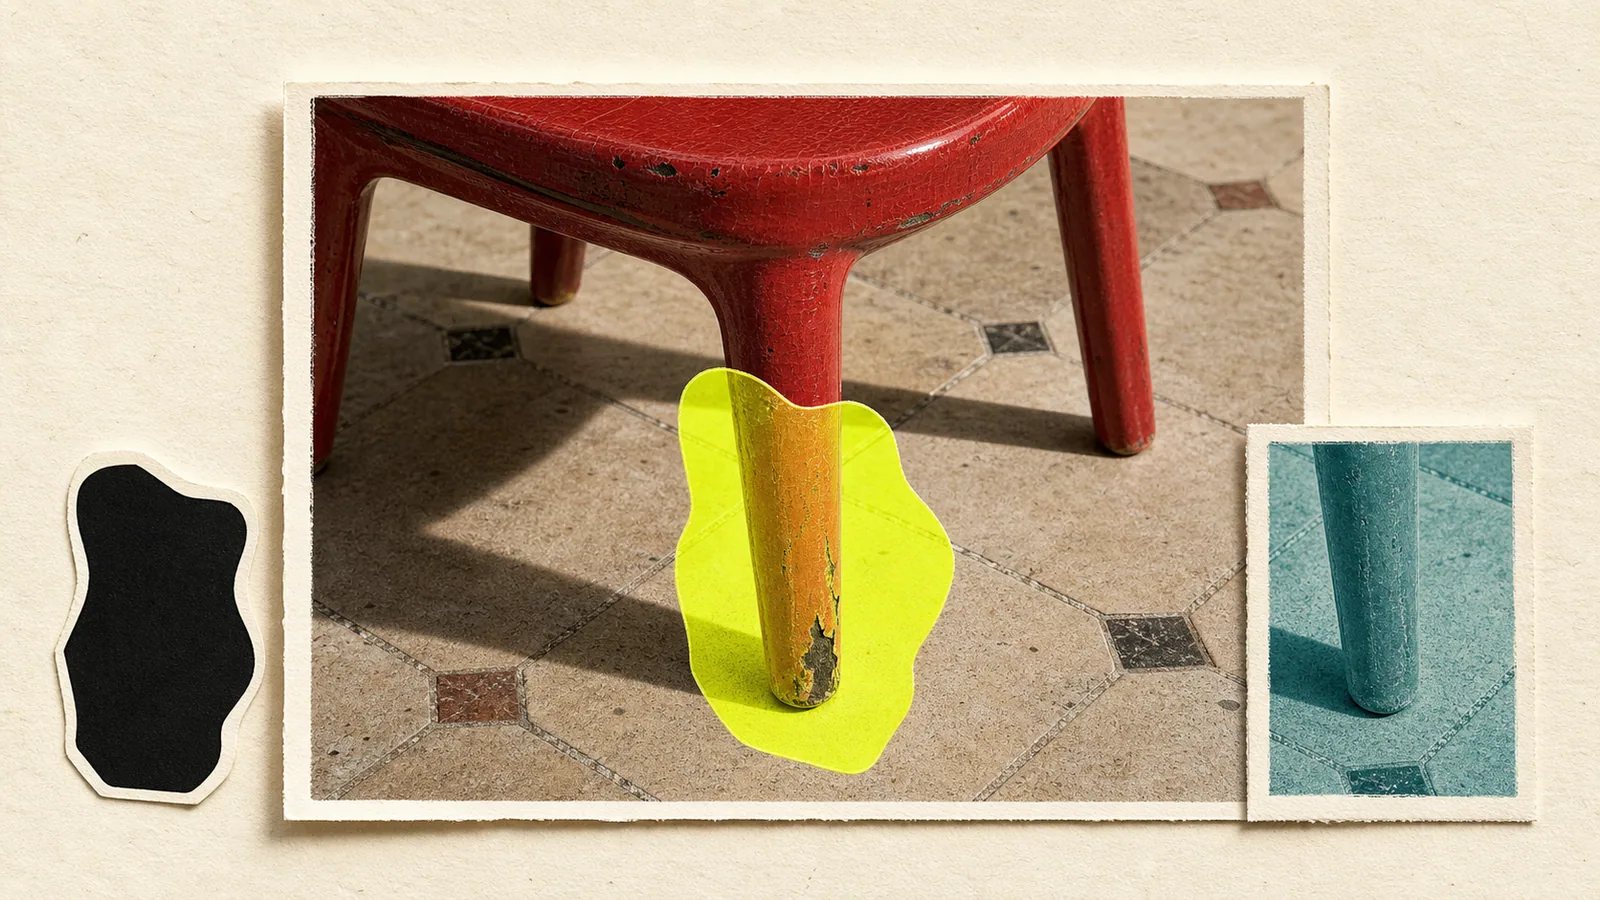
AI inpainting is a local image-editing method: you mark an area that may change, then describe what should replace, remove, or repair it. The surrounding image provides context for structure, lighting, texture, and perspective. Unlike regenerating the whole image, inpainting is designed to preserve content outside the selected region.
The important idea is that the mask defines permission, not the finished answer.
How inpainting works
An inpainting edit combines three inputs:
- base image: the image you want to keep and modify;
- mask or selection: the region where change is allowed;
- prompt or edit instruction: the desired content or repair.
Google's image-editing overview describes mask-based editing as applying changes to a specified area and lists object insertion, removal, content extension, and background replacement as common uses (Google Cloud image editing overviewnofollow).
The system reads both the masked region and nearby context. If you remove a cup from a wooden table, it must reconstruct the grain, light, shadow, and any edge that continued behind the cup. If you add a lamp, it must also invent plausible contact, scale, and illumination.
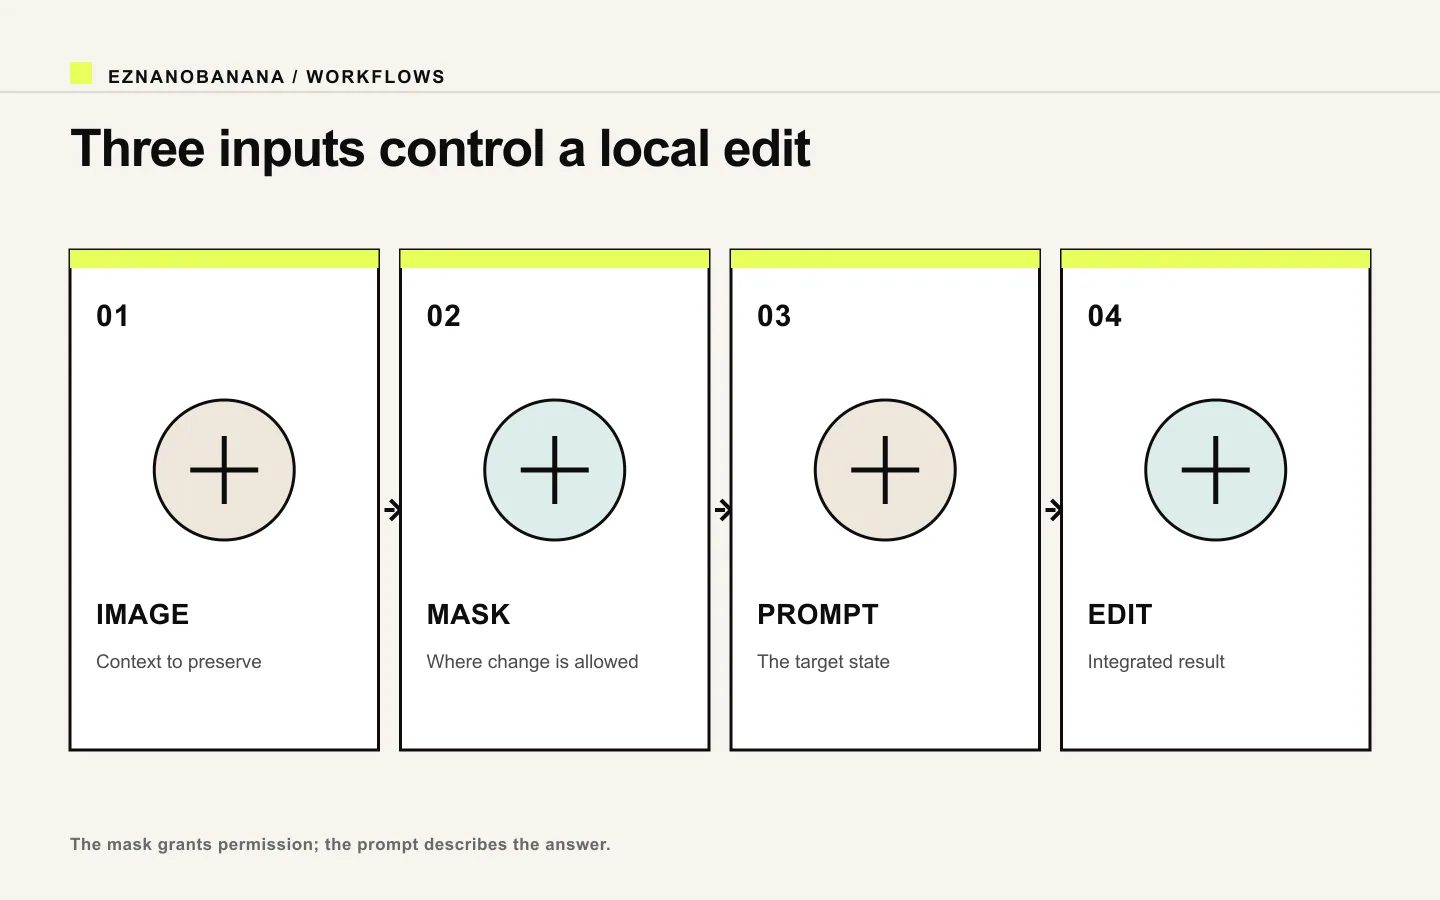 Diagram showing how the source image, mask, and prompt combine into a local inpainting edit.
What the mask controls
Think of a mask as a change budget.
A tight mask reduces the area that can drift, but it may not leave enough room to rebuild shadows, reflections, or overlapping edges. A wide mask gives the system more freedom, but it can alter details you meant to preserve.
Use the smallest mask that contains:
- the object or defect;
- its cast shadow or reflection when those must change;
- any contaminated edge pixels;
- a small amount of surrounding texture needed for blending.
For user-provided masks, some systems require the mask and base image to have matching dimensions. Google's object-removal workflow documents that relationship explicitly (Google Cloud object removal guidenofollow).
Soft or feathered boundaries can help blend gradual transitions, but too much feathering creates mushy edges. Hard geometric objects often need tighter edges; hair, smoke, glass, fabric blur, and shallow depth of field may need a softer transition.
What the prompt controls
The prompt should describe the target state, not merely repeat the editing verb.
For removal:
Remove the red cable. Continue the oak floorboard grain and the soft baseboard shadow through the selected area. Add no new objects.
For replacement:
Replace the selected plastic planter with a low matte ceramic planter in warm gray. Match the existing size, camera perspective, window light, and contact shadow. Preserve the plant and surrounding floor.
For insertion:
Add one folded cream linen napkin in the selected empty area. Align it with the table perspective, light it from the upper left, and add a soft contact shadow. Keep the plate and cutlery unchanged.
Google's insertion workflow similarly combines a selected region with a prompt describing the object to add (Google Cloud object insertion guidenofollow).
A practical inpainting workflow
1. Decide whether the edit is truly local
Use inpainting when most of the image is already correct. Good candidates include removing a distraction, repairing a small artifact, changing one object, or rebuilding a local edge.
If the desired result changes the camera angle, pose, entire lighting scheme, and environment, a broader image-to-image workflow may be more appropriate.
2. Inspect the surrounding evidence
Before masking, note the lines, textures, shadows, and reflections that continue through the target. These details belong in the prompt or the review.
Ask:
- What surface is behind the object?
- Which edges pass through the selected area?
- Where does the light come from?
- Does the object cast a shadow or reflection?
- Is the area sharp or out of focus?
- Is there repeated texture that must continue?
3. Draw the first mask
Cover the target and any dependent shadow or reflection. Avoid swallowing unrelated high-value details such as a face, logo, hand, or product edge.
4. Write a reconstruction instruction
Describe what should exist after the edit. Name the material, pattern direction, light, and “no new object” constraint when removing content.
5. Generate several candidates
Local edits can vary even with the same inputs. Compare candidates for structural correctness before choosing the most visually polished one.
6. Inspect the boundary
View at 100% and fit-to-screen. Look for seams, repeated texture, color halos, broken lines, inconsistent blur, doubled edges, and lighting that changes abruptly at the mask.
7. Refine only the failed area
If the repair is mostly correct, use a smaller follow-up mask on the remaining seam. Do not reopen the entire region unless the structure is wrong.
Four common inpainting jobs
Remove an unwanted object
Include the object, its shadow, and any reflection in the mask. Tell the system what background should continue behind it. A prompt that says only “remove object” leaves the reconstruction ambiguous.
Replace one object
Protect neighboring objects and describe the replacement's scale, position, perspective, and contact. If the new object must fit a hand or mount, include the attachment area in the mask.
Repair anatomy or geometry
Mask the smallest region that contains the defect, but include enough of the surrounding joint or structure to infer a coherent result. Preserve identity, pose, clothing, and composition in the instruction.
Repair text or a label
Use caution. If exact spelling or legal copy matters, manual typesetting is more reliable. Inpainting can repair a small region, but the final text still requires character-by-character review.
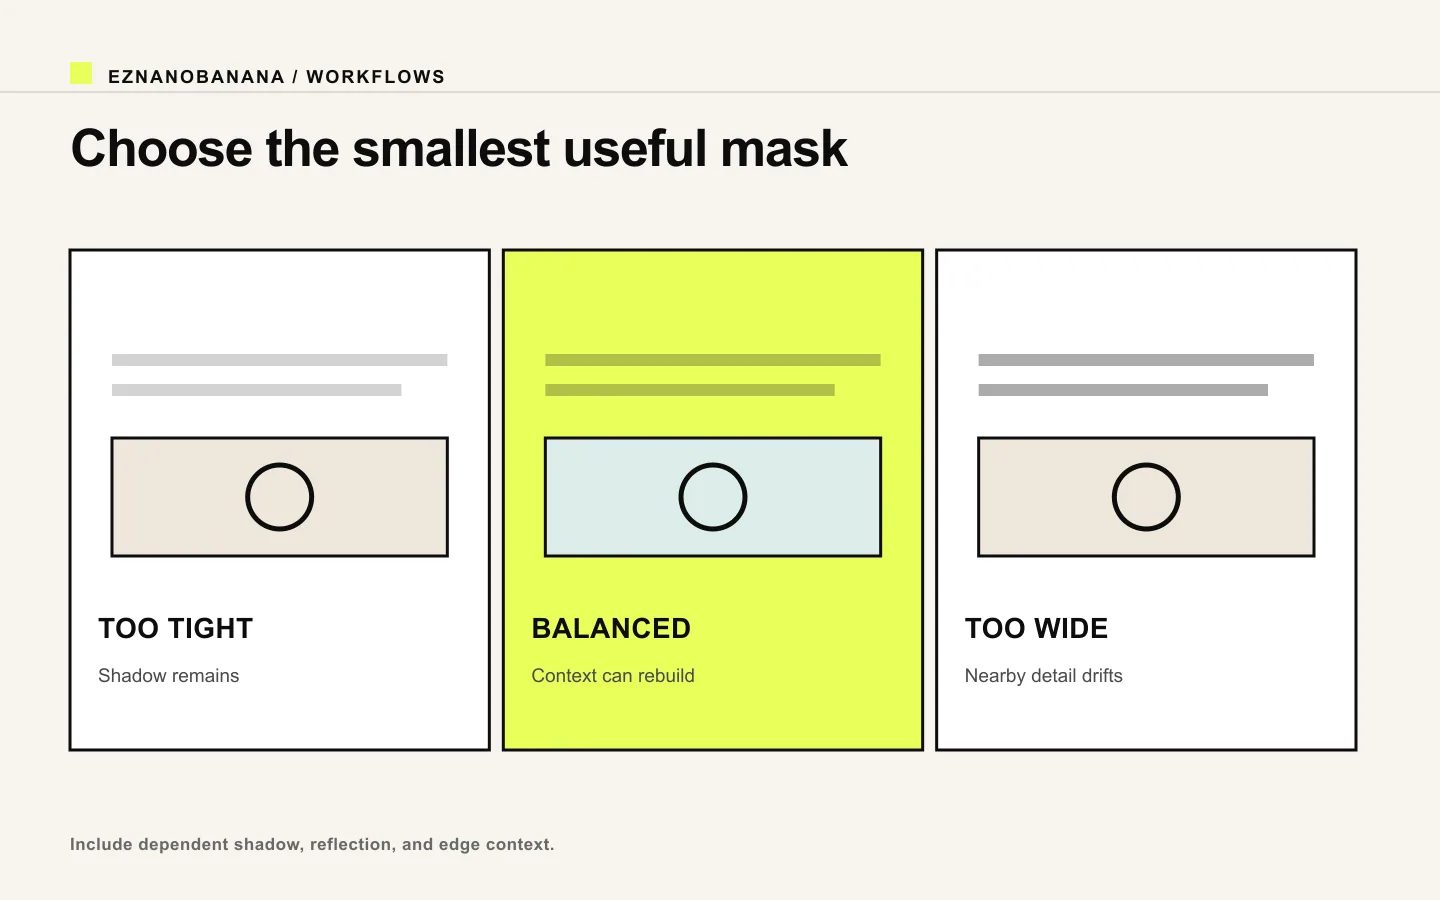 Comparison of an inpainting mask that is too tight, balanced, or too wide.
Why inpainting fails
The mask is too tight
The object disappears, but its shadow remains. Or a replacement cannot connect naturally to the surface. Expand the mask to include dependent visual evidence.
The mask is too broad
The edit succeeds but nearby objects change. Reduce the region, restore from the original, and work in smaller passes.
The prompt describes an action, not a result
“Fix this” gives no visual target. Describe the repaired material, structure, light, and edge.
The surrounding image is ambiguous
If the source contains blur, compression, or contradictory geometry, the system may infer the wrong continuation. Provide a cleaner source or accept that the region requires manual work.
The replacement contradicts the scene
A bright object inserted into a dim room must still receive dim-room light. Match direction, color temperature, shadow softness, perspective, and depth of field.
Inpainting versus related methods
- Full regeneration recreates the whole image and allows the most drift.
- Image-to-image editing can transform broad attributes while using the source as guidance.
- Inpainting focuses change inside a selected region.
- Outpainting extends beyond the original canvas and invents new surrounding content.
- Background replacement may use a subject mask to protect the foreground while changing a large region behind it.
The labels differ across products, but the control logic remains useful: define what may change, describe the target, and inspect the boundary.
Use EzNanoBanana's editing workspace when the image is already mostly right and the change is local. Start with a conservative mask, include the visual relationships that must be rebuilt, and expand the edit region only when the first result proves it needs more context.
Link policy demo
Standard links remain follow links. Editorial references marked “nofollow” render with a dotted underline and a small policy label, and include rel="nofollow" in the HTML.
Make the next frame