Why AI-Generated Images Look Blurry—and How to Fix Them
Diagnose whether softness comes from the source, generation, subject scale, resampling, compression, or display—and fix the right stage.
 EzNanoBanana Editorial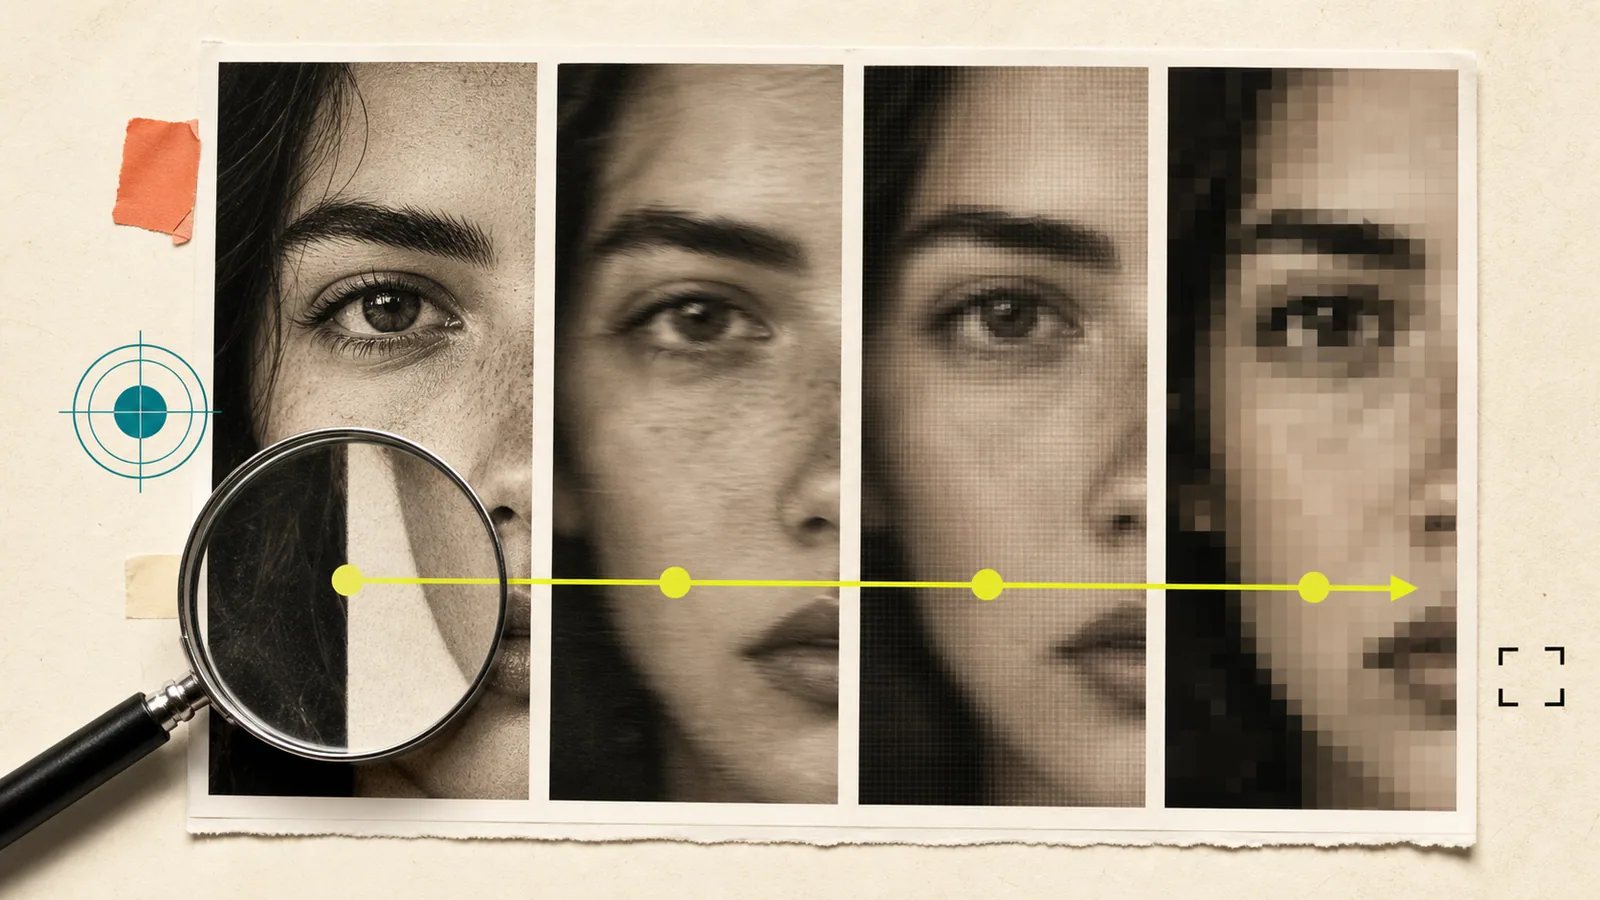
Blurry AI images can come from several different stages: the source was weak, the generator produced uncertain structure, the subject occupies too few pixels, the prompt requested shallow focus or motion, the file was enlarged, compression removed detail, or the page displayed an unsuitable variant. Fixing the wrong stage wastes time.
Start by identifying whether the problem is semantic, optical, or technical.
First, name the kind of blur
Semantic softness looks like melted fingers, unreadable labels, vague eyes, or textures that do not resolve into coherent objects. The model did not construct the detail correctly.
Optical softness resembles intentional photography: shallow depth of field, motion blur, atmospheric haze, bloom, diffusion, or a soft lens.
Technical softness comes from too few source pixels, enlargement, resampling, compression, or browser delivery.
At 100% zoom, semantic softness often contains plausible-looking noise with no stable structure. Technical softness usually preserves the correct structure but lacks edge definition. Optical softness follows a scene logic: the focused plane is sharp while foreground or background falls off.
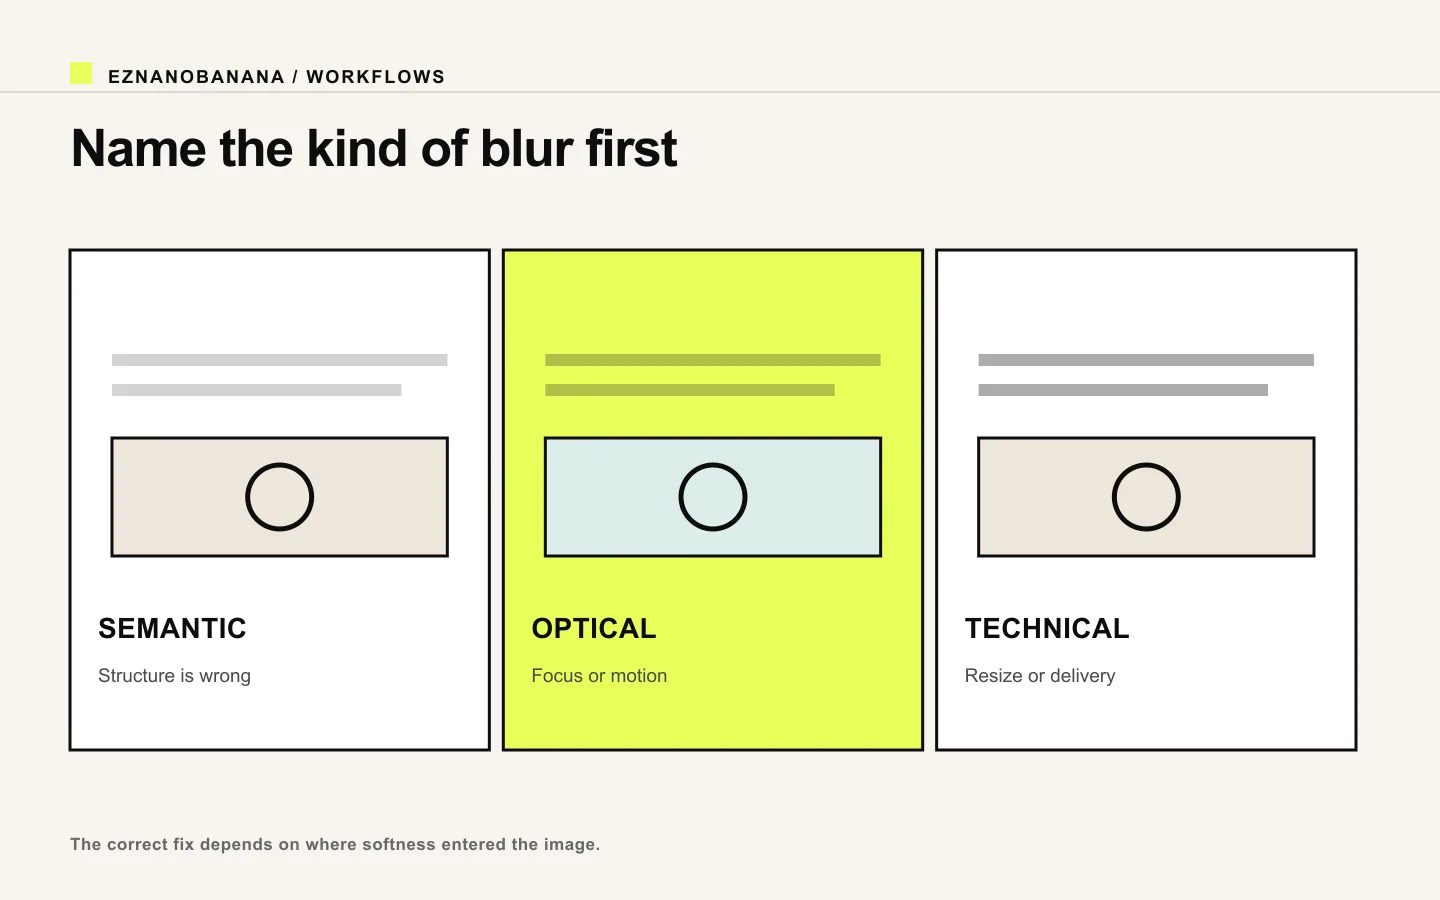 Comparison of semantic, optical, and technical blur in AI images.
Cause 1: the source image is already weak
Image-to-image and image-to-video workflows inherit information from the source. A low-resolution, compressed, or structurally broken input gives the next stage less reliable evidence.
Check the original before generation:
- Are the eyes, hands, label, and material texture genuinely present?
- Is the subject large enough in the frame?
- Has the image already been downloaded and recompressed several times?
- Is sharpening hiding block artifacts?
- Does the source contain intentional depth-of-field blur?
Use the cleanest available master. Do not screenshot a thumbnail when the source file exists.
For image-to-video, Runway explicitly warns that blurry hands, faces, and other input artifacts may intensify in the animation (Runway image-to-video prompting guidenofollow).
Cause 2: the subject is too small
A 2,000-pixel-wide image can still lack facial detail if the face is only 80 pixels wide. Overall dimensions are not the same as subject detail.
Fix it by changing composition before increasing output size:
- move closer;
- use a medium shot instead of a wide shot;
- create a separate detail image;
- simplify the background;
- reserve more of the canvas for the product or face.
If the source needs both a wide hero and a readable product detail, make two art-directed images. A single distant subject cannot supply detail that was never represented.
Cause 3: the model is uncertain about structure
Hands, small text, repeated patterns, transparent materials, dense crowds, and intricate mechanisms are high-risk. If an important region looks semantically wrong, enlargement will only make the wrong structure larger.
Regenerate or edit the region while providing clearer constraints:
- simplify the pose;
- isolate one object;
- use a stronger reference;
- state exact geometry or repeated count;
- reduce style effects;
- enlarge the subject in the composition;
- repair one region through an image-to-image workflow.
The key test is simple: if you cannot trace the correct structure at current size, do not upscale yet.
Cause 4: the prompt asked for softness
Words such as “dreamy,” “ethereal,” “cinematic bloom,” “shallow depth of field,” “soft-focus portrait,” “motion,” and “atmospheric” can reduce visible edge contrast.
Keep the mood, but protect the focal plane:
Soft atmospheric background and subtle bloom around practical lights; the subject's eyes, eyelashes, hairline, and jacket texture remain sharply focused.
For a product:
Shallow background depth of field, but the entire product silhouette, front label, cap, and material texture remain in the same sharp focal plane.
Remove contradictory directions. “Heavy motion blur” and “every detail razor sharp” do not define a physically coherent image.
Cause 5: the image was enlarged poorly
Resampling changes an image's pixel dimensions. Adobe documents different resampling methods for enlargement, reduction, smooth gradients, and hard-edged pixel art (Adobe Photoshop resampling optionsnofollow).
Traditional enlargement interpolates pixels; an AI upscaler may synthesize texture. Neither can guarantee the true detail of a face, label, or product that was absent.
Use enlargement only after structural approval:
- approve identity, anatomy, text, and geometry;
- enlarge from the best available master once;
- compare at the intended display size;
- reduce artificial halos or plastic texture;
- preserve the unprocessed source.
Repeatedly resizing and exporting is worse than creating one final delivery variant from the master.
Cause 6: compression is too aggressive
Compression often attacks subtle gradients, fine hair, small type, and texture first. It may create block boundaries, ringing around edges, or smeared detail.
Test compression visually rather than choosing a quality number in isolation. Compare:
- facial features;
- product text;
- hard high-contrast edges;
- dark gradients;
- fine repeated texture;
- translucent areas.
For blog imagery, a modern format and a sensible transformation pipeline can reduce transfer size, but the delivery result must still pass a visual check.
Cause 7: the browser serves the wrong image
A sharp file can look soft if it is displayed larger than its intrinsic dimensions or if the page serves a candidate too small for the rendered slot and device density.
MDN explains that responsive images let a browser select among width candidates using layout and device information (MDN responsive imagesnofollow).
Inspect the actual rendered page:
- rendered CSS width and height;
- intrinsic width and height;
- selected
srcsetcandidate; - device pixel ratio;
- any CSS transform or browser zoom;
- crop and
object-fit; - CDN transformation parameters;
- whether a low-quality placeholder failed to swap.
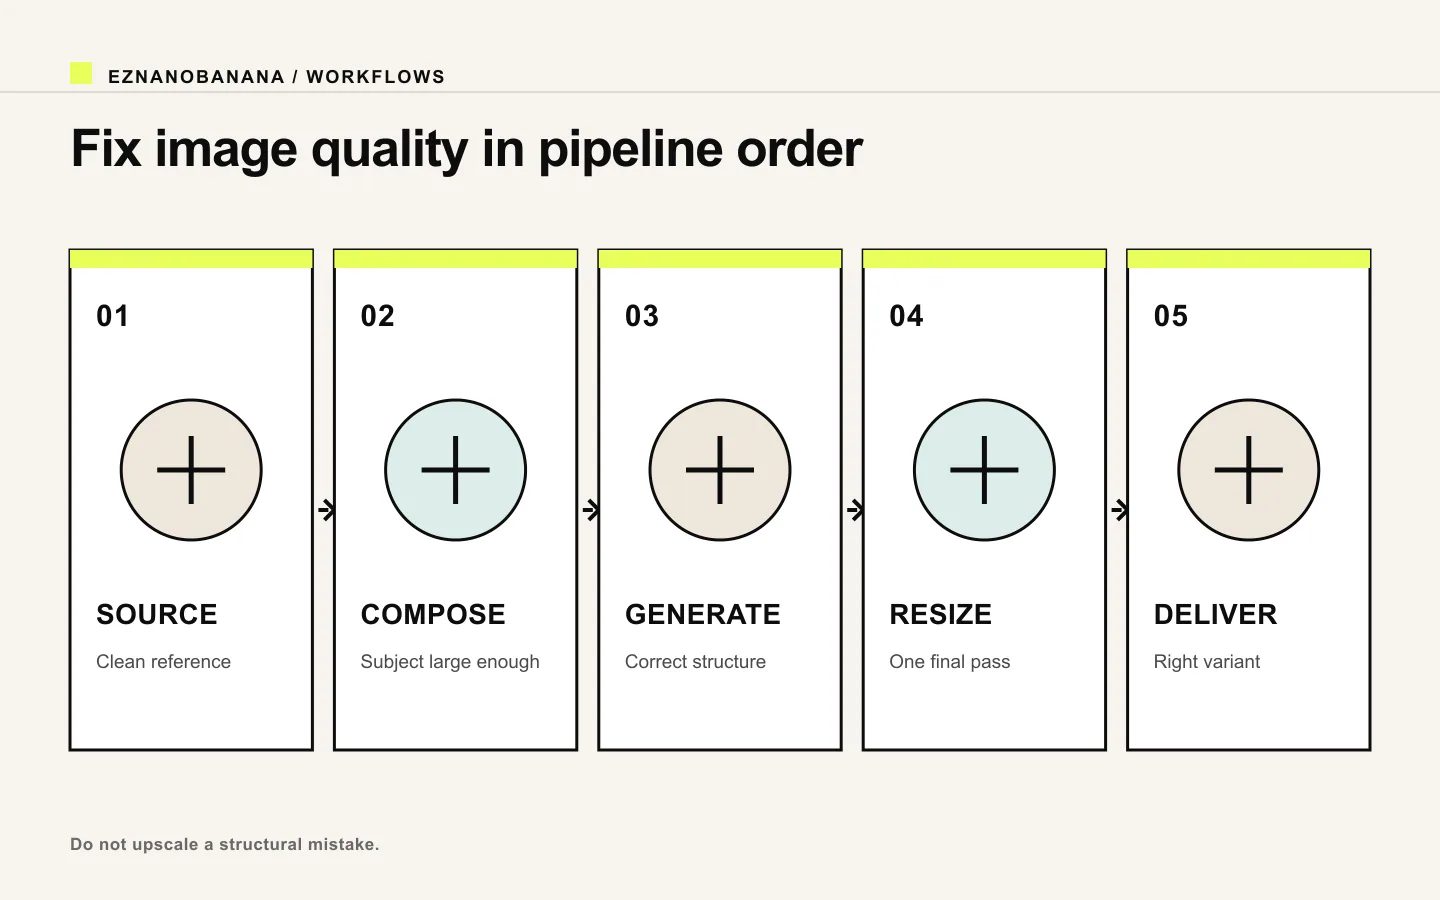 Five-stage image-quality pipeline from source and composition through generation, resizing, and delivery.
If the CMS preview is blurry but the live page is sharp, compare their requested image URLs and rendered sizes before changing the source asset.
Use this fix order
Follow the image from meaning to delivery:
- Source: use a clean reference.
- Composition: make the important subject large enough.
- Generation: fix anatomy, text, geometry, and material.
- Local edit: repair only the failed region.
- Enlargement: resize once from the approved master.
- Compression: create a visually acceptable delivery file.
- Responsive delivery: request the right dimensions for the component.
- Display: verify at actual size on a representative screen.
Do not begin at step five when step three is wrong.
Quick symptom-to-fix guide
- Face is vague in a wide scene: create a closer composition.
- Label letters are malformed: regenerate or typeset; do not sharpen.
- Edges have bright halos: reduce sharpening and inspect masking.
- Whole page image is soft: inspect delivered dimensions and CSS size.
- Only the background is soft: confirm whether depth of field is intentional.
- Dark gradient is blocky: reduce compression or change format/settings.
- Hair looks painted together: use a cleaner source and local edge repair.
- Animation amplifies defects: repair the first frame before video.
A clean result comes from a clean pipeline, not one “enhance” button. If the structure itself is wrong, start again with the EzNanoBanana AI image generator or make a controlled source-based edit. If the structure is right, preserve the master and fix resizing, compression, or delivery at the stage where softness was introduced.
Link policy demo
Standard links remain follow links. Editorial references marked “nofollow” render with a dotted underline and a small policy label, and include rel="nofollow" in the HTML.
Make the next frame